In this lesson we learnt how to use ActionScript 3 to create a button to progress an animation.
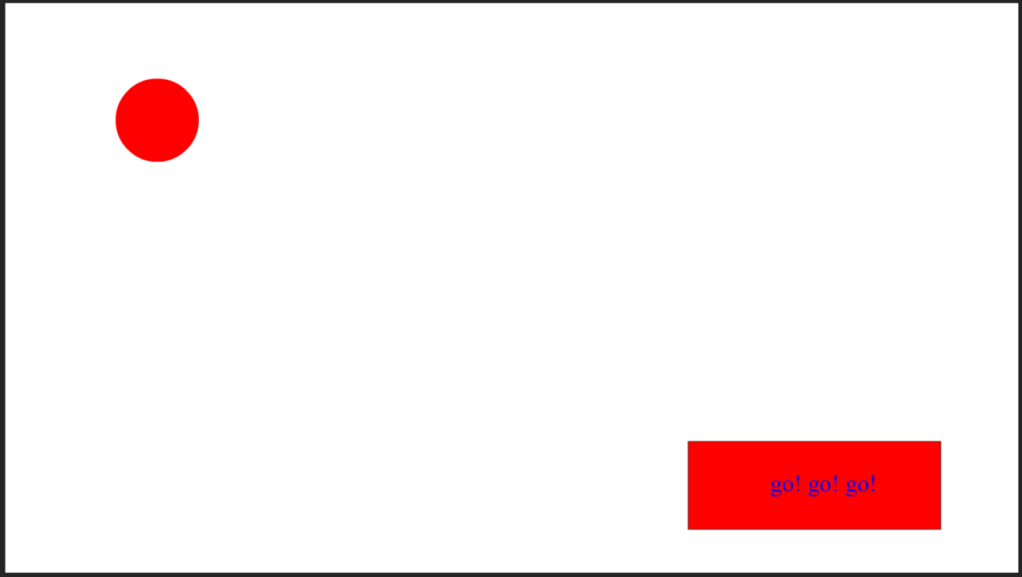
The animation that would play would be simple for this task as it would be a object like a ball or sphere moving across the screen. Then I would create a new symbol and make it a button class object. I then designed the button using a the rectangle tool and inserting text within it.
I then placed the button into the scene on a new layer at the top to ensure the button would be in front of everything else.
To make the button work with the code I would input I had to give the button an instance name that would match the code, this was “button”.
Next I added a new layer to the bottom of my timeline and called it actions, this layer can only be used for the ActionScript 3 code.
At the start of the animation I inputted the code below to make the button work.
function playAnimation(e: MouseEvent): void {
    this.play();
}

button.addEventListener(MouseEvent.CLICK, playAnimation);
Then, whenever I needed to stop the animation I would insert the code below
this.stop();After I had created another motion tween with my object I then exported the animate file as an .swf file so that the animation would function as intended.
