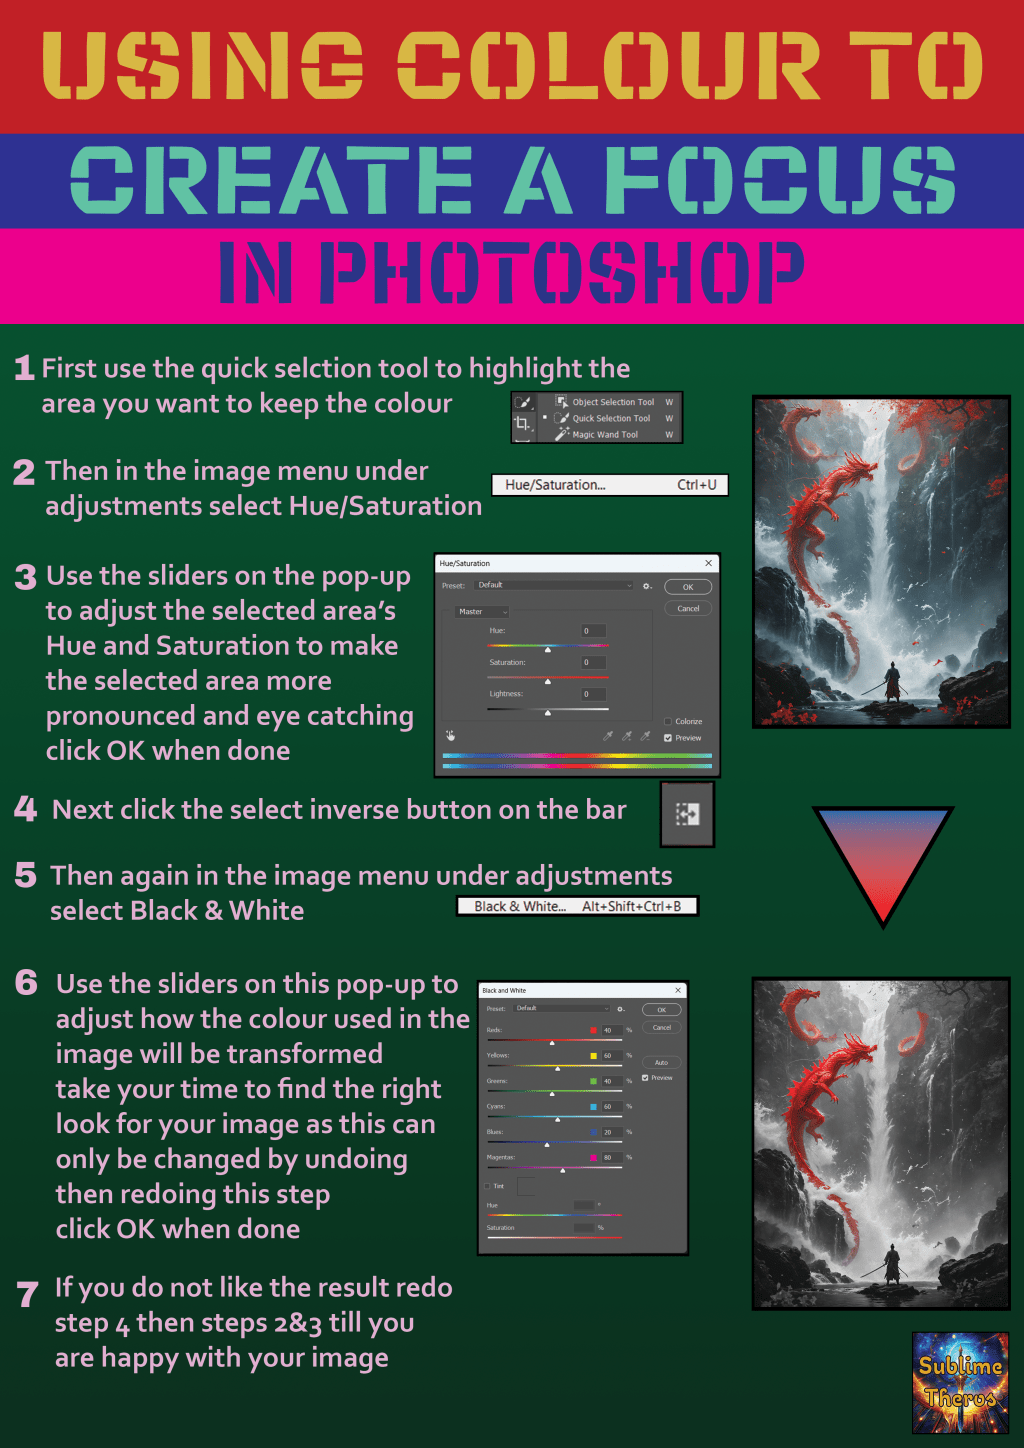

The first task we were given to test our Photoshop skills was to create a poster in Photoshop about one of the tools or techniques we have been taught and practised in the past few weeks. I chose the colour alterations and quick select tools. I titled my poster Using Colour to Create a Focus in Photoshop. I backed each line of the title with a different colour to make the title stand out. I went on a tangent to create an example image, I found online an image of dragons at a waterfall then I increased the saturation and made the rest of the image monochrome. I then wrote out the instructions for how to replicate my example image on my poster. throughout my production of this poster I made sure to name my layers so that someone else could have some understanding of what each layer was for. I added numbers to the steps so I could refer back to prior steps in step 7. I added images of the tools and the menus I use to assist the reader in their understanding of the poster. I put my logo in the bottom right corner to make it more difficult to steal my work. I added borders to each image to make them more grounded. Finally I adjusted my alignments so objects on the poster looked even and had been purposely placed rather than looking a bit haphazard.
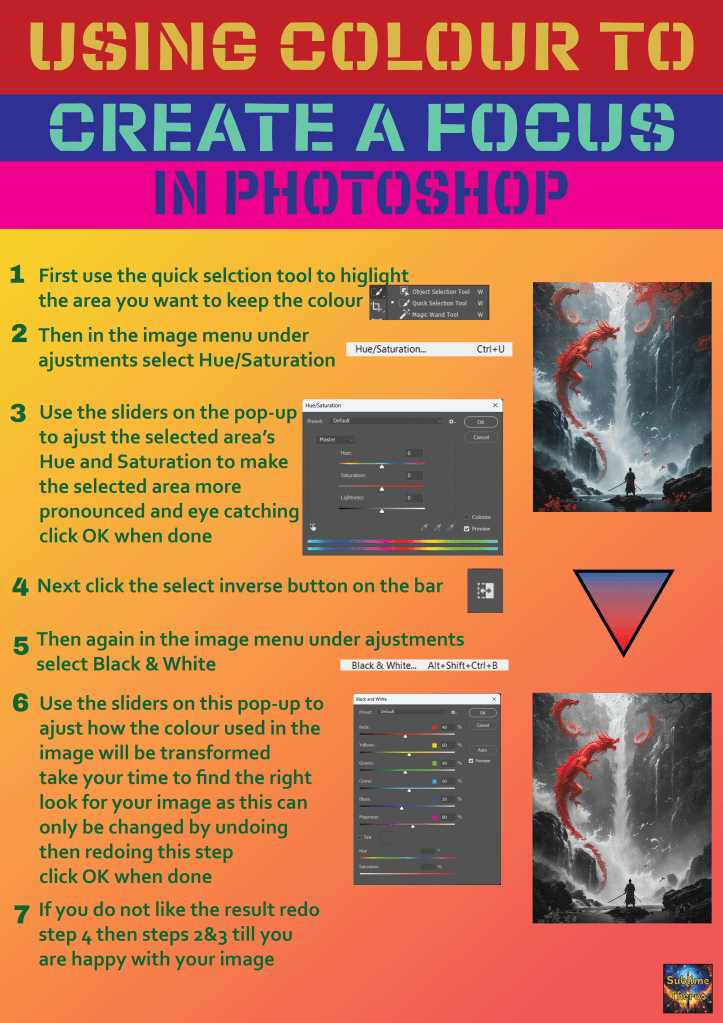
Here is one of my earlier designs which my friends told me that it was too bright, the text wasn’t visible against the back ground and that the images needed top stand out
L3 U5&6
