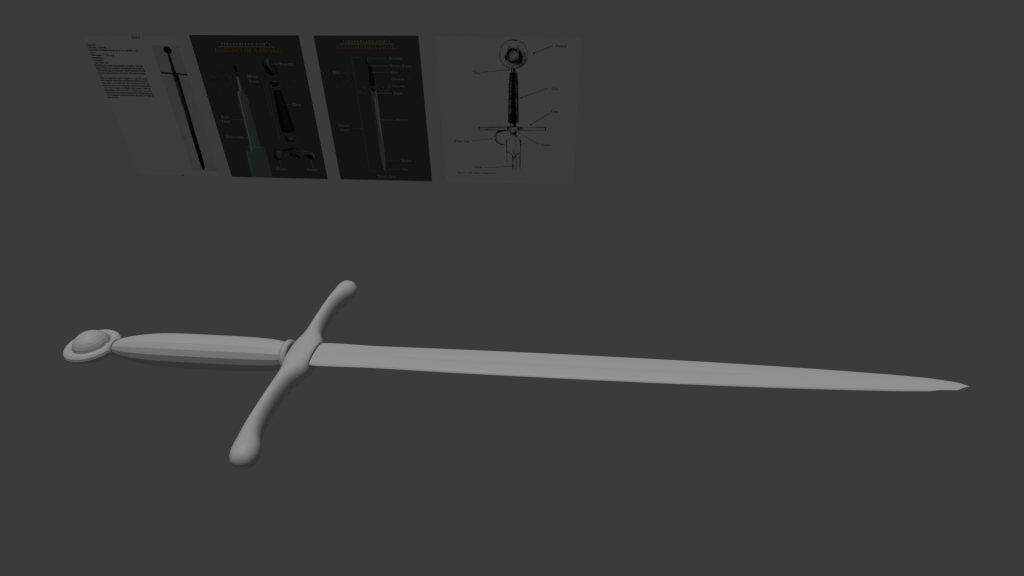
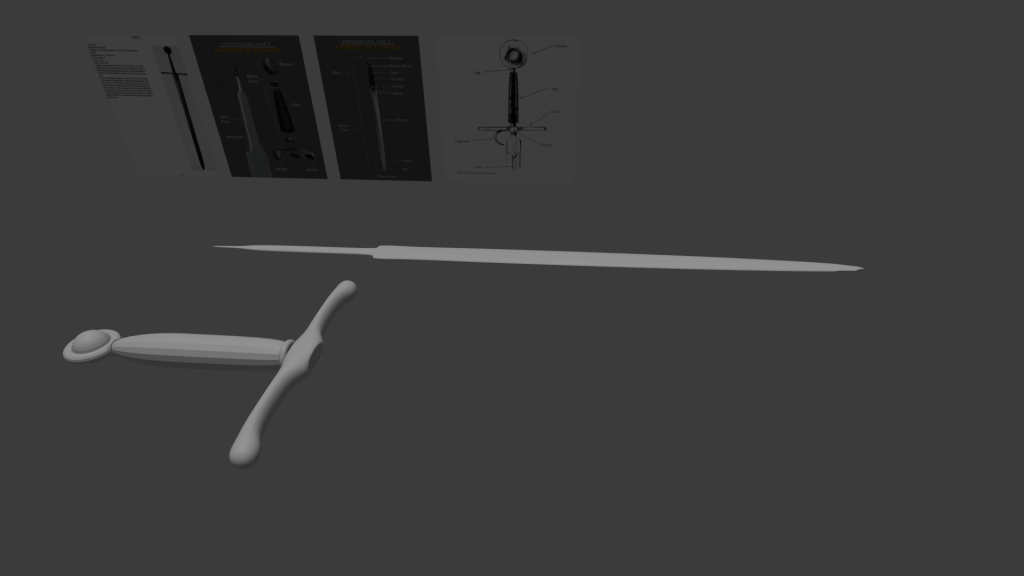
I continued my modelling by adding more of my reference images in using the images as planes tool. I first went back and ensured I had labelled objects correctly so that I knew what was for what and if I handed the project off to someone else they would be able to understand. I then added a new cube to be the blade and added a subdivision surface to it. I flattened two edges of the cube to achieve the sharp edge of the blade. I started with the tang of the blade, the part the goes in the hilt. Using the image from Strongblade.com I extruded a face of the cube and then narrowed the width to create the “shoulders” of the blade. I then extruded again to make the part of the tang that goes into the pommel which is a lot narrower than the rest of the tang, to do this I manipulated the vertices and edges of this section to achieve the narrowness required. Next I extruded to create the actual blade of the sword. I split the blade into three sections with the middle section for the fuller, an indent in the blade that adds strength to the blade. I achieved this by using the bevel tool to bevel the centre edge of the section and this created the ideal shape for the fuller. I then indented the faces of the bevelled area to create the indent of the fuller. I then narrowed the tip of the blade to create a sharp tip.
I will now look a texturing a shading the sword.
L3 U1
