Key Mechanic Explanations
2D Characters using Paper 2D & Paper ZD
A key part of my game idea is that my characters would be 2D. I knew I wanted this to be part of my project about a month before the project brief was given out and I made significant headway into learning how to implement 2D sprites in Unreal Engine. From prior learning in my course knew of a first party Unreal plugin called Paper 2D that added implementation of sprites. However, I learnt it had limited access for 2.5D games but when researching I found a video about a third party plugin for Unreal called Paper ZD.
This plugin added to functionality of Paper 2D but was easier to create complex animations due to the plugin binding the logic of Unreal’s 3D animation tools to use in 2D animation. There was also support for multi-directional inputs so I could create the 2.5D game I wanted.
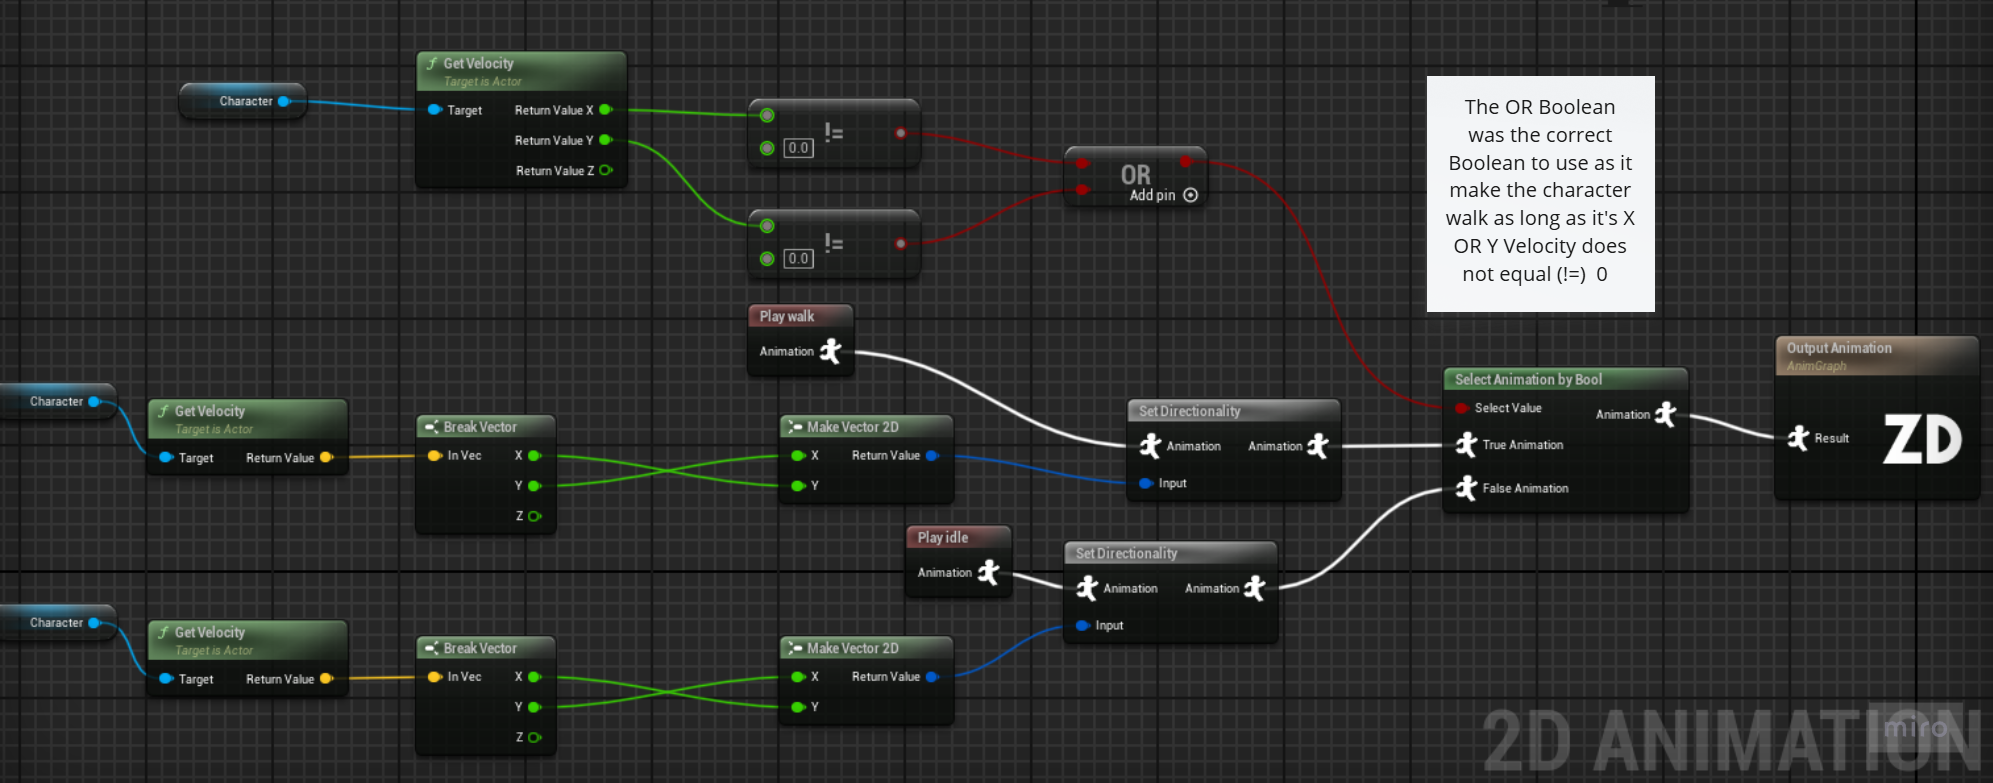
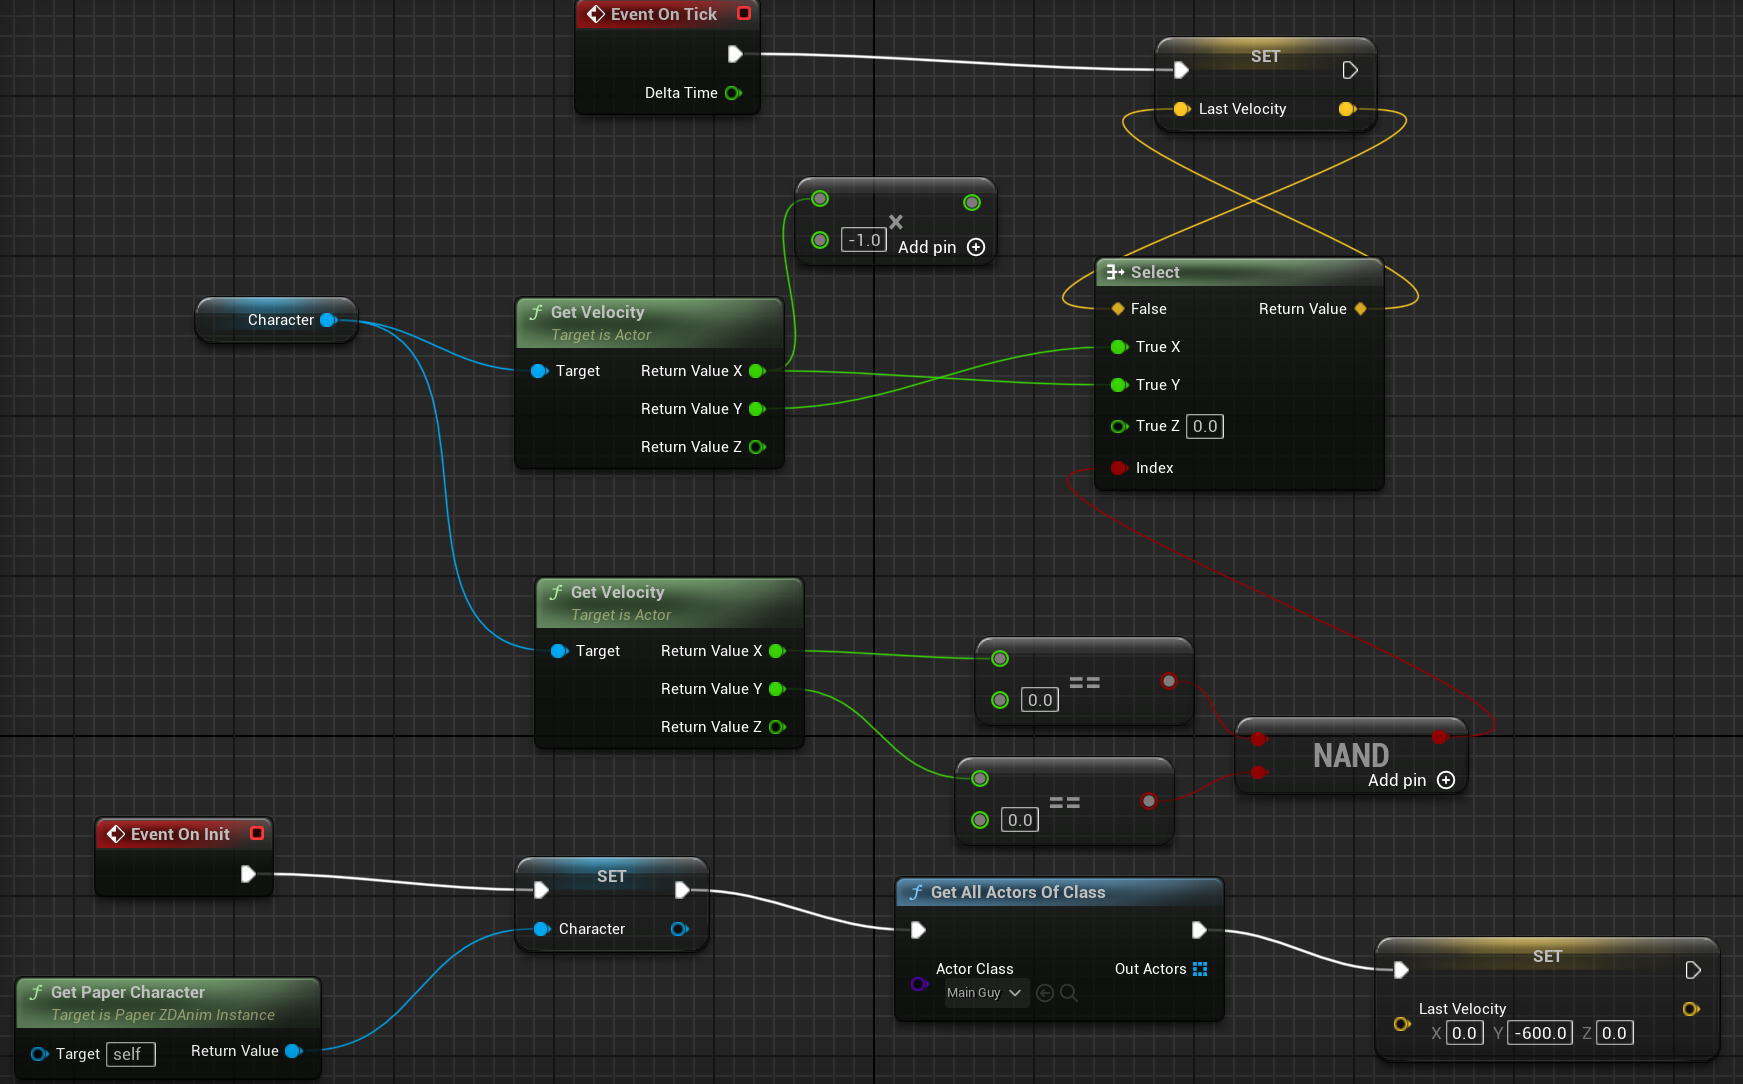
After exploring Youtube tutorials on Paper ZD I found they did not provide the information on how to implement the multi-directional sequences, so I turned to the official documentation on Paper ZD. The key turned out to be a single node called “set directionality” which takes data from the characters movement velocity removing the z component, converting it to a 2D vector (X&Y rather than X,Y&Z) as the ground velocity is all that is needed and saves the Z velocity for a potential jump animation. I then set up the “select animation by Bool” to take the velocity and if the character was moving in the X&Y vectors then play the walk animation with the direction the character faces set by the directionality node (see image 1 on the right).
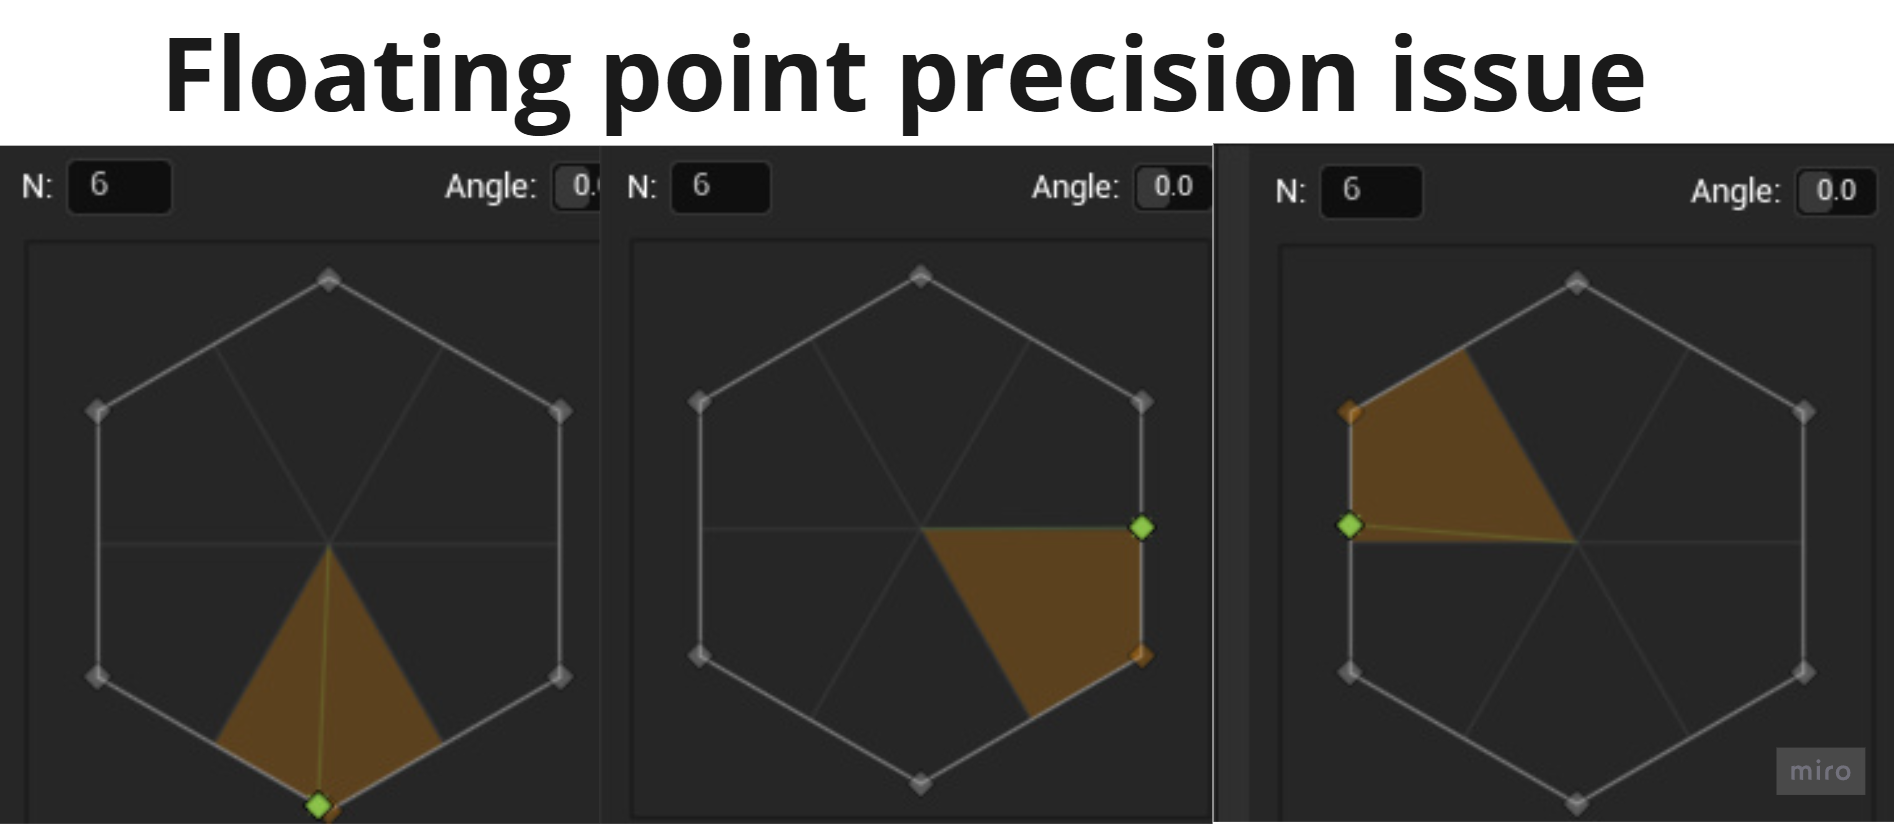
I first set up my multi-directional sequence. Intiality 6 directions as I had 6 ways for the character to face but this created what I learned was a “floating point precision” issue (see image 2). When I got into testing I realised that if I went left the sprite would walk back left and if I went right it would walk forward right. this is because moving left or right would set the directionality of the animation on the line between two different pieces of the animation data so that the software would have to decide which “flipbook” to show. I rectified this by making the multi directional sequence have 8 directions which with hindsight makes a lot of sense as with the digital input of a D-pad or WASD there is only eight directions of movement.
However, this wasn’t right as on testing the walk animation would only play when the character was moving diagonally. It was quickly clear what was wrong, by checking if there was movement in the X&Y vectors it meant both had to not equal 0 not just one, I solved this quickly by swapping the AND node with an OR node. There was a further issue where the opposite animation of the input direction was playing, a quick fix for this was the swap the X & Y pins of the make 2D vector. I believe this is due to the way my characters faces in my levels. There was an odd remaining issue where the character would always revert to forward facing when movement stopped.
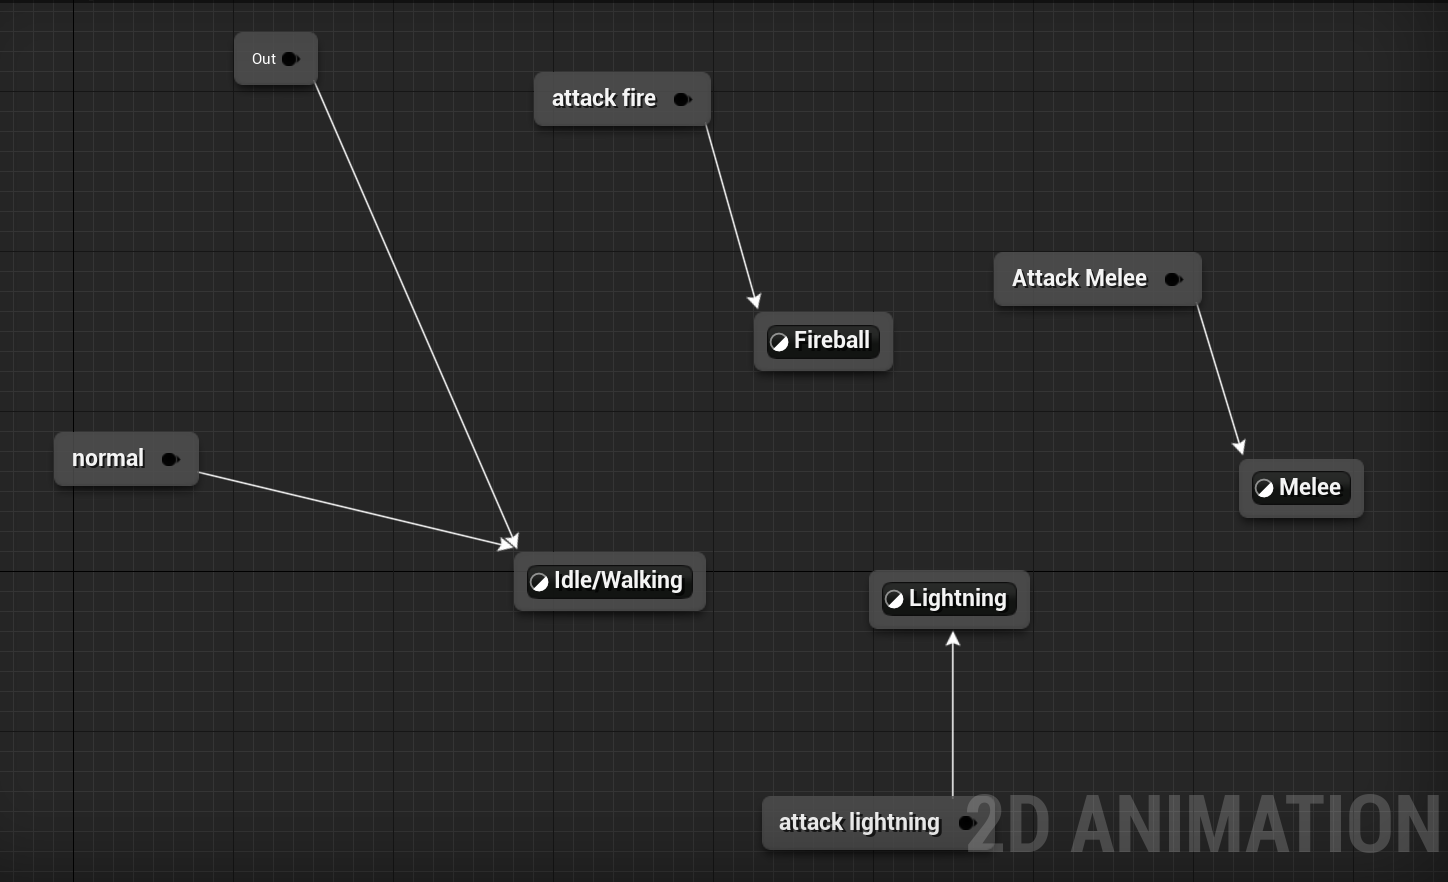
When I added attack animations I struggled to implement them within the animation graph. I tried to use “select animation by bool” and set a boolean value from the left mouse button being pressed but that failed. The way that worked and what I used for some time was “animation overrides” that allowed for a different animation to be played when an override was triggered. This method worked well for the enemies but it were not smooth and often incomplete for the player character. A classmate suggested I try a state machine. I had briefly tried to use them when setting up my original animation but it caused flickering of the sprite during movement so I had dismissed this. However, state machines were the answer as I simply put the functioning animation graph within a state so it would no longer flicker and used “Jump” nodes to call the animations from my player’s blueprint.
The only issue I had remaining at this point was the sequence reverting to forward position when the character stopped moving. I felt this was satisfactory for the player character but for the enemies that needed to show where they are looking this wasn’t acceptable for me. I ended up creating a variable that stored the last velocity of the character and I fed that into another “set directionality” node which kept the character facing the direction they were facing when they last moved.

Pixel Art
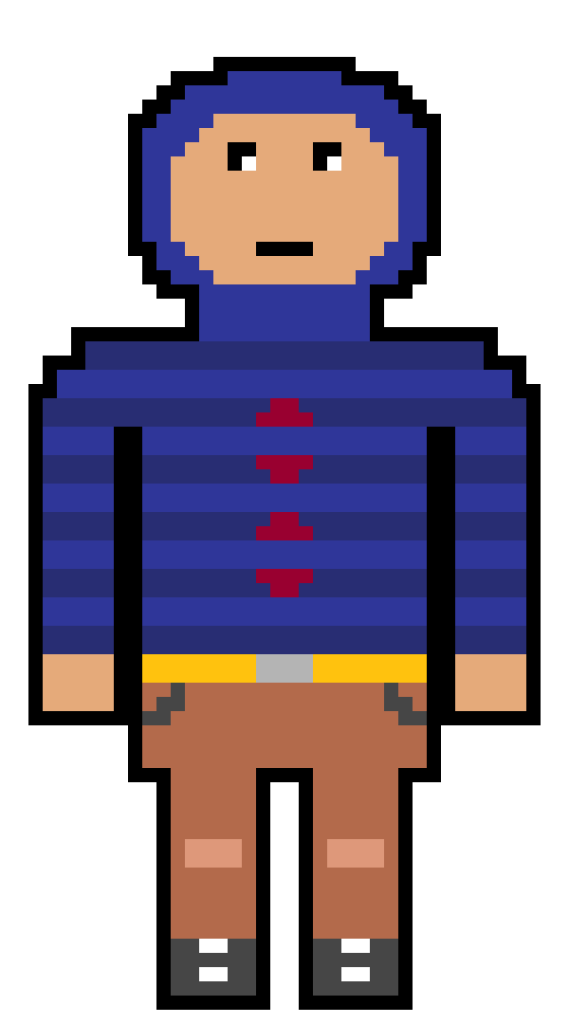

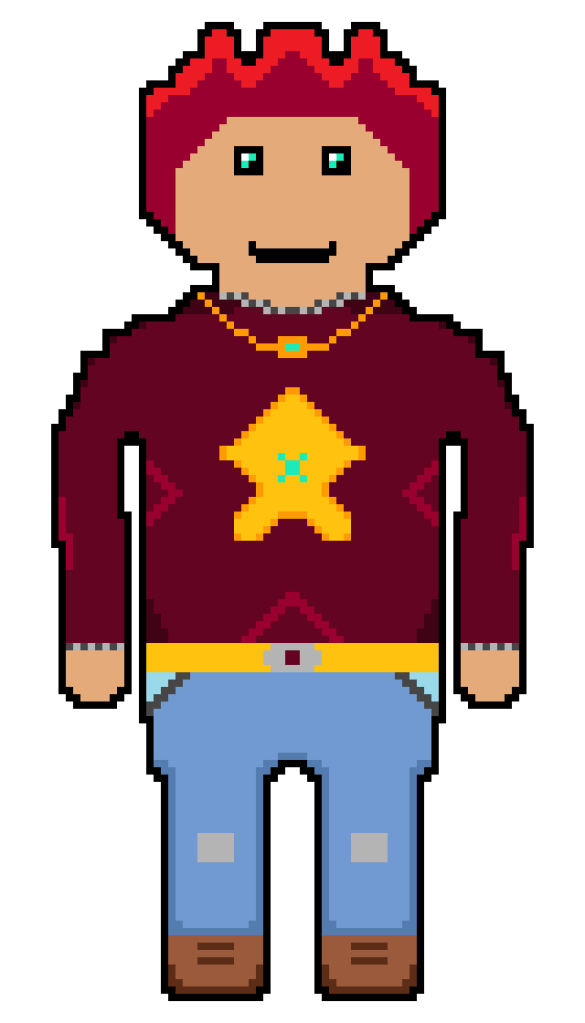

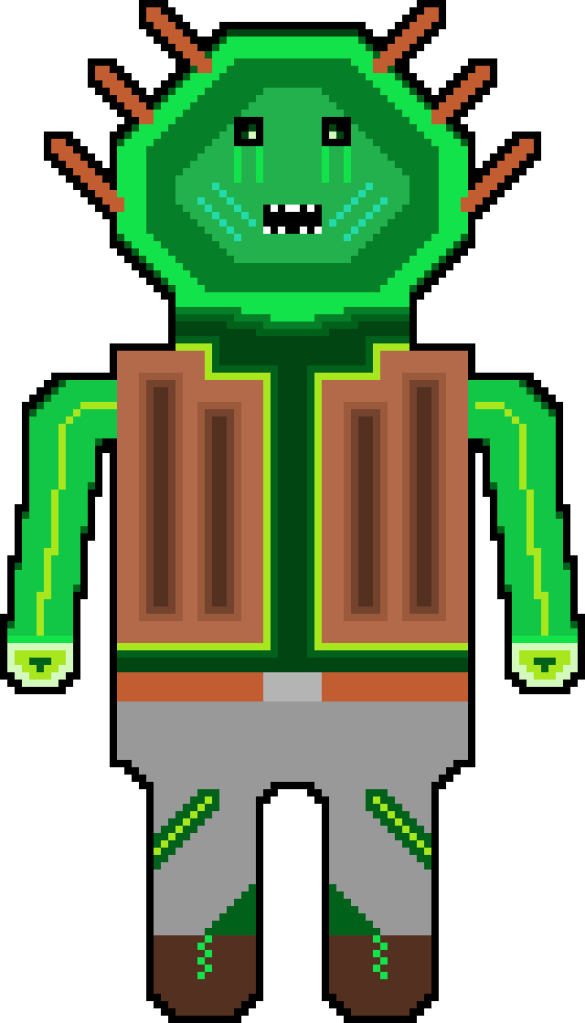
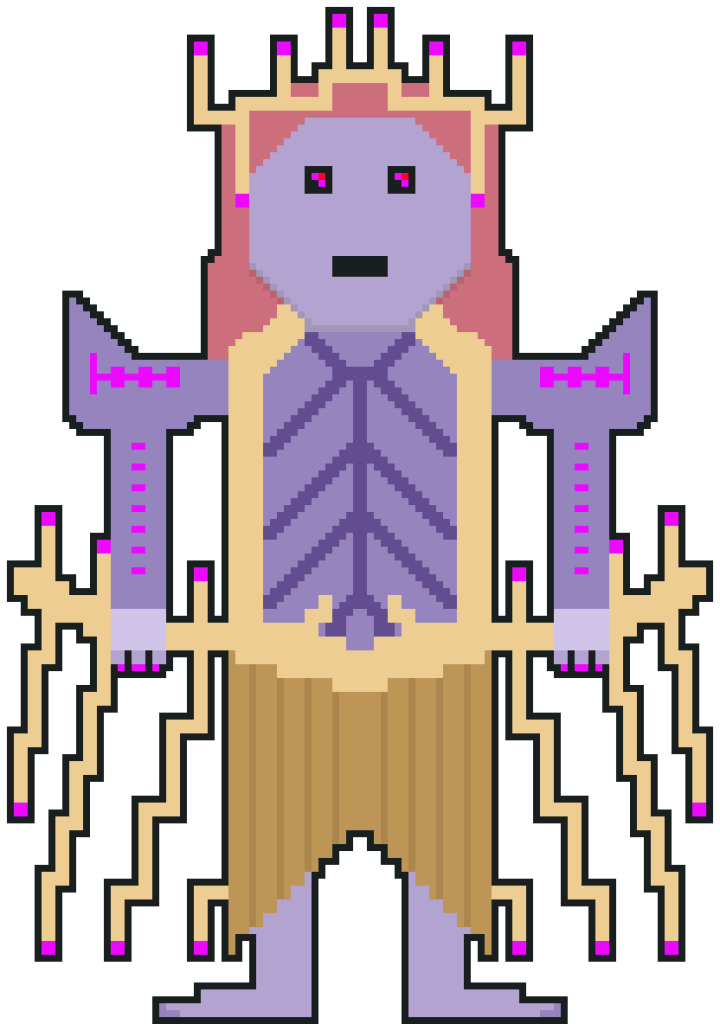
My original sprite designs
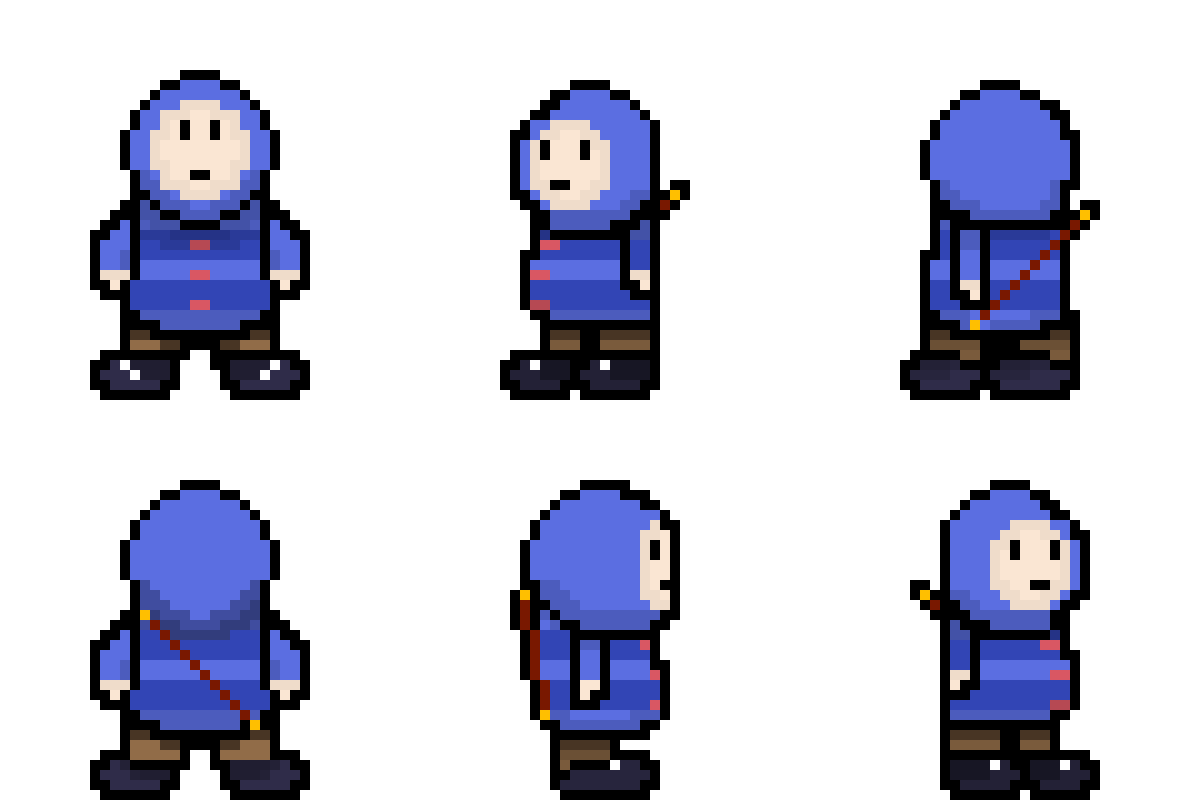
1&2. Rirgon, 3. Aneo (Red) 4. Chilia
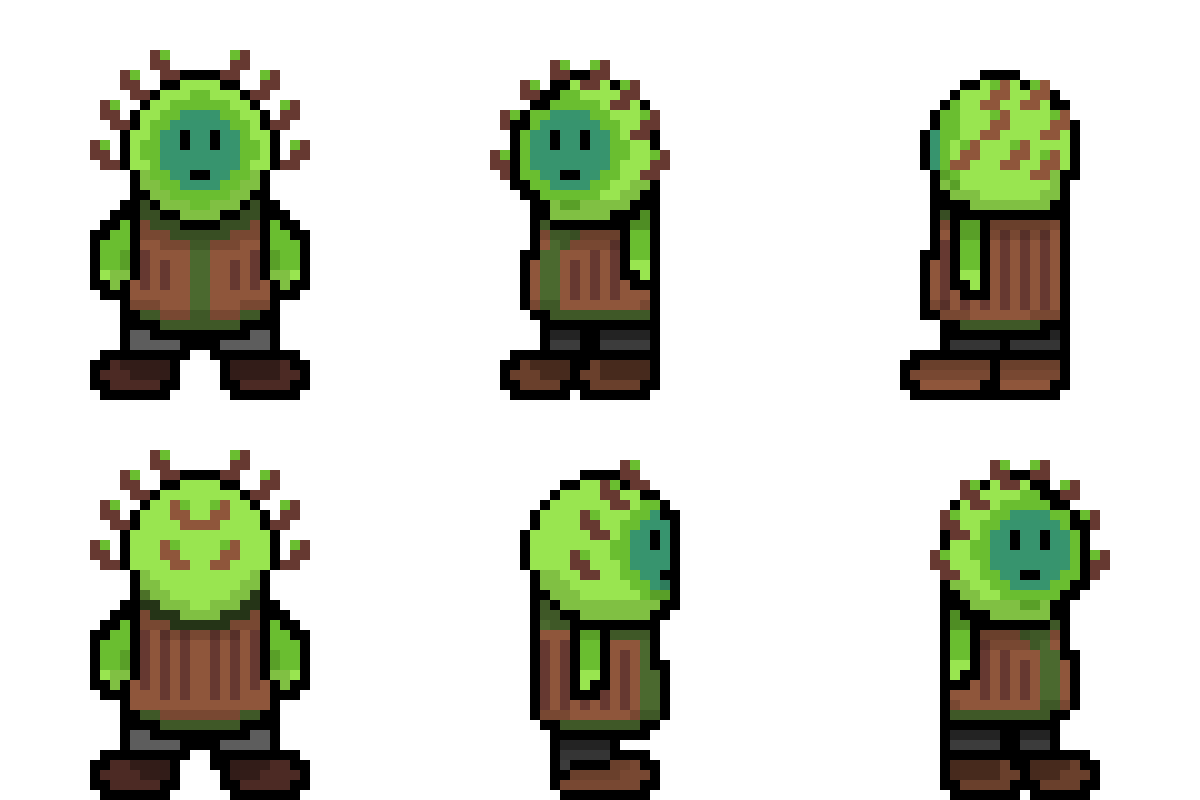
5. Tree Zombie 6. Arganoth
Before the project started I had been expanding on the pixel art I had created for Unit 7. I had created a character with the label “Blue” that would later become my main character Rirgon. I used a website pixel art tool called Pixil at this point but it lacked key tools such as a lasso. I created a second character labeled “Red” that used the same ratio as “Blue” but I felt he lacked detail so I doubled the canvas size and scaled him up. When I added more detail and I liked what I had created and so did the same for “Blue”. This ended up being my process for sprite creation.
It was suggested that I used the different sprites to gather primary research on what people liked and how I could improve. I particularly asked in the survey what people prefered in terms of pixel density. The results favoured the lower density and respondents felt my sprites looked rigid and flat.
I ended up entirely overhauling my sprites and started by creating a base which, a concept which was recommended by a friend. I found a tutorial that helped me make a front design and adapted it to make it my own. I then expanded it to all the frames I needed: front, front left, left, left back and back. I left out the right facing sprites intending to reflect the left sprites once colour and detail was added. I had switched to a new software called Aseprite which has a lot of useful tools for sprite and tile map creation. A useful feature of Aseprite is the many types of layers it offers, the one I made use of was the multiply layer which allows you to use grayscale shading underneath on a normal layer and then add colour on top with the multiply layer. This allows for consistent shading across multiple characters by using the base.
After confirming the new designs were an improvement with the second sprite survey I recreated all sprites in the new style. This was far quicker due to having the base. I created four moving characters with full rotation, Rirgon and the three roaming enemies. I have created further static characters, these characters have idle animations but no rotation frames. I created the boss in this fashion but need to create frames for his attack animations.
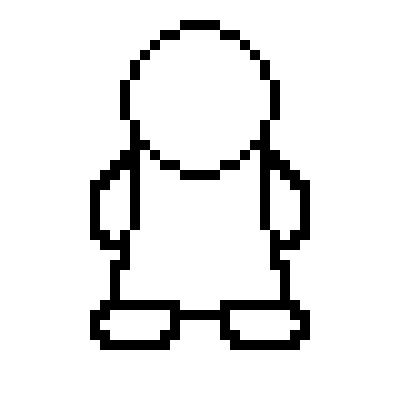

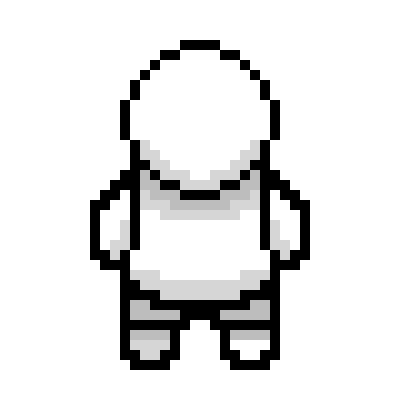
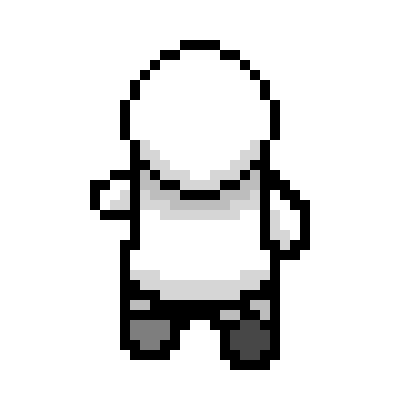
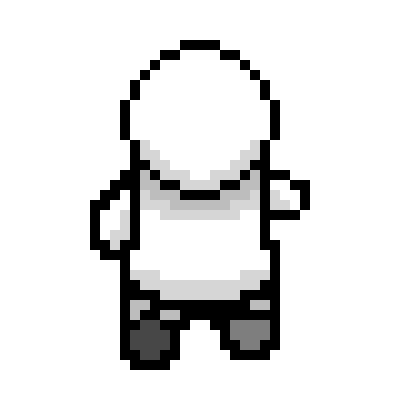
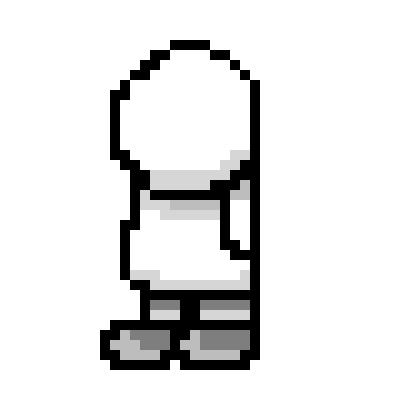
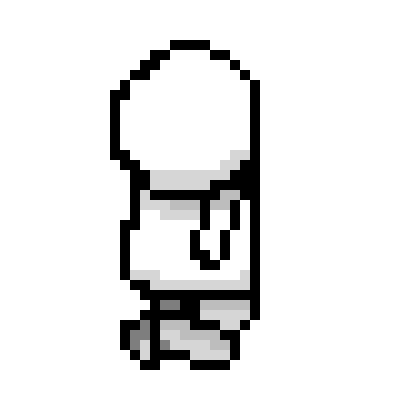
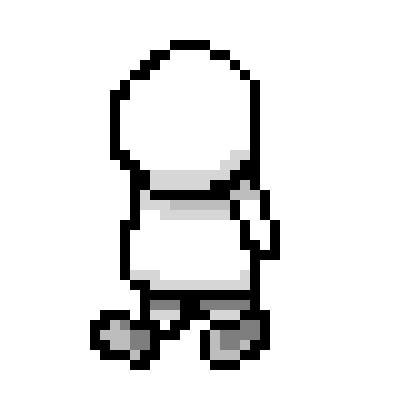

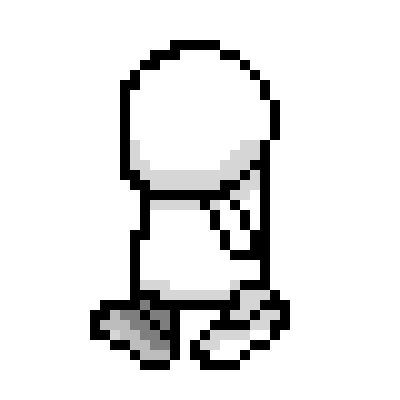

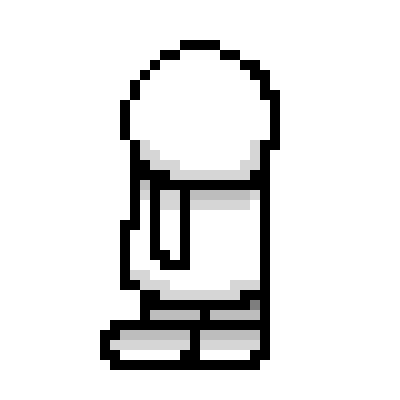
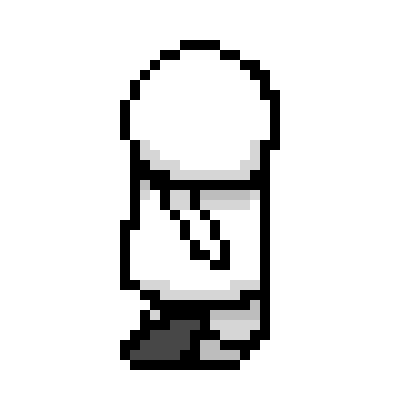

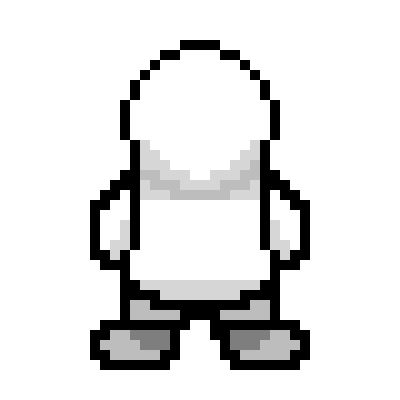
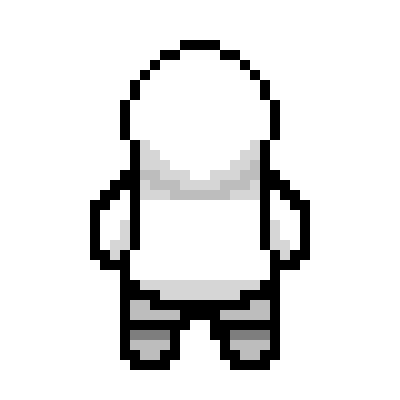
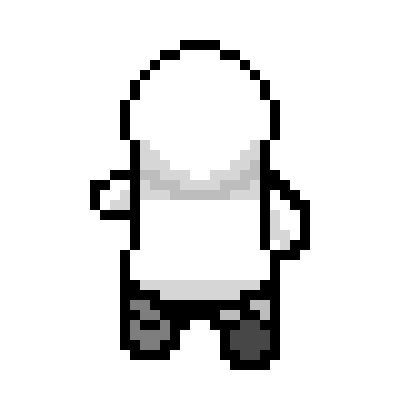
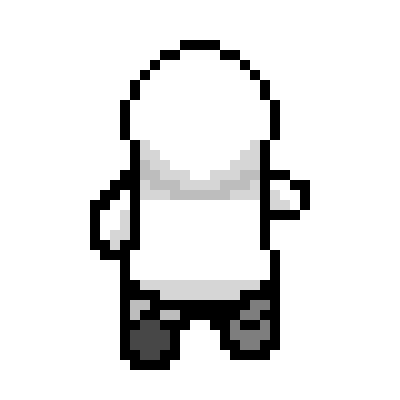
The sprite base I created as part of my overhaul
Arganoth
The Fell Lord
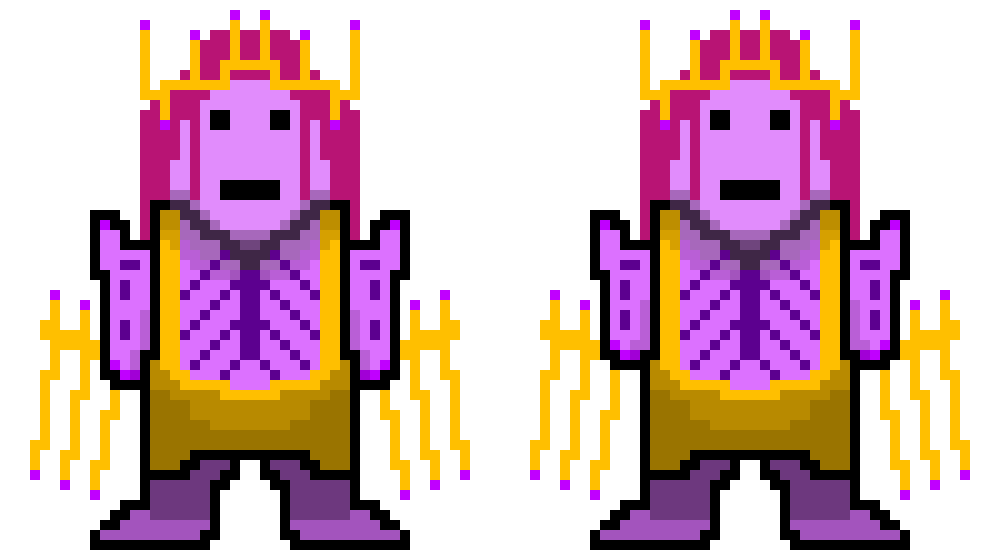
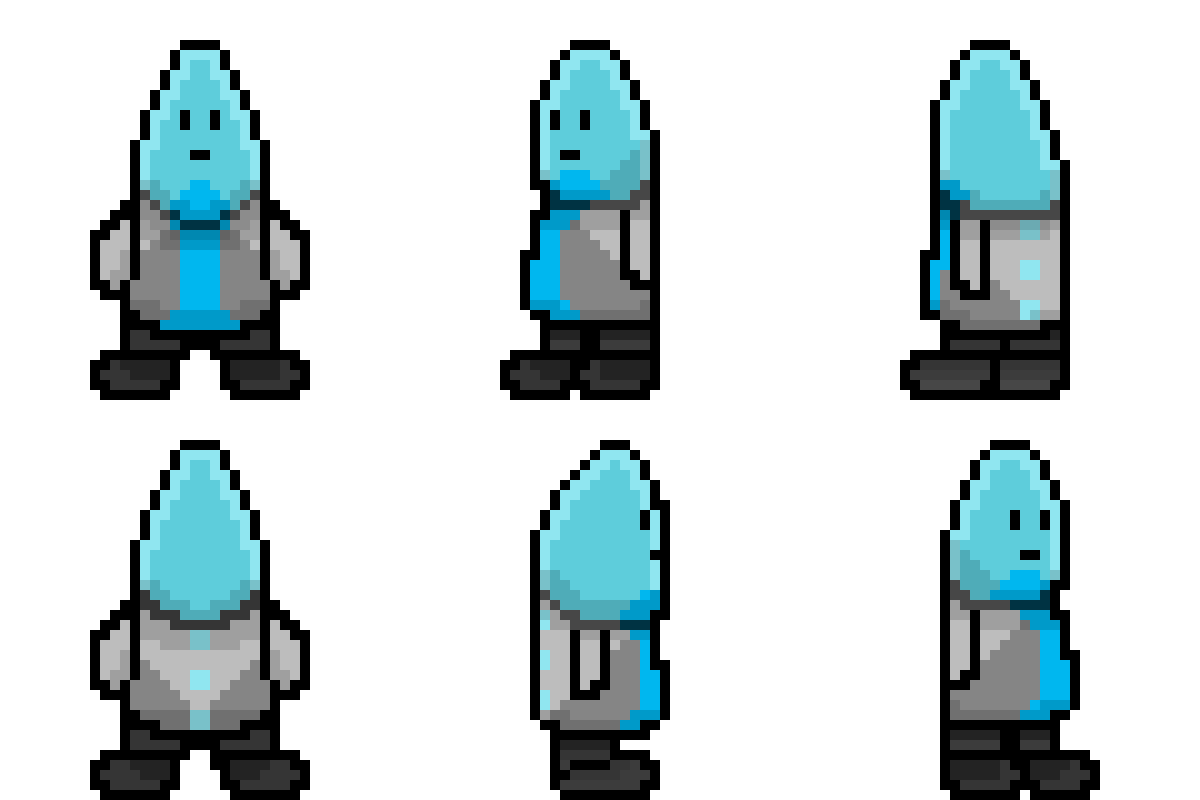
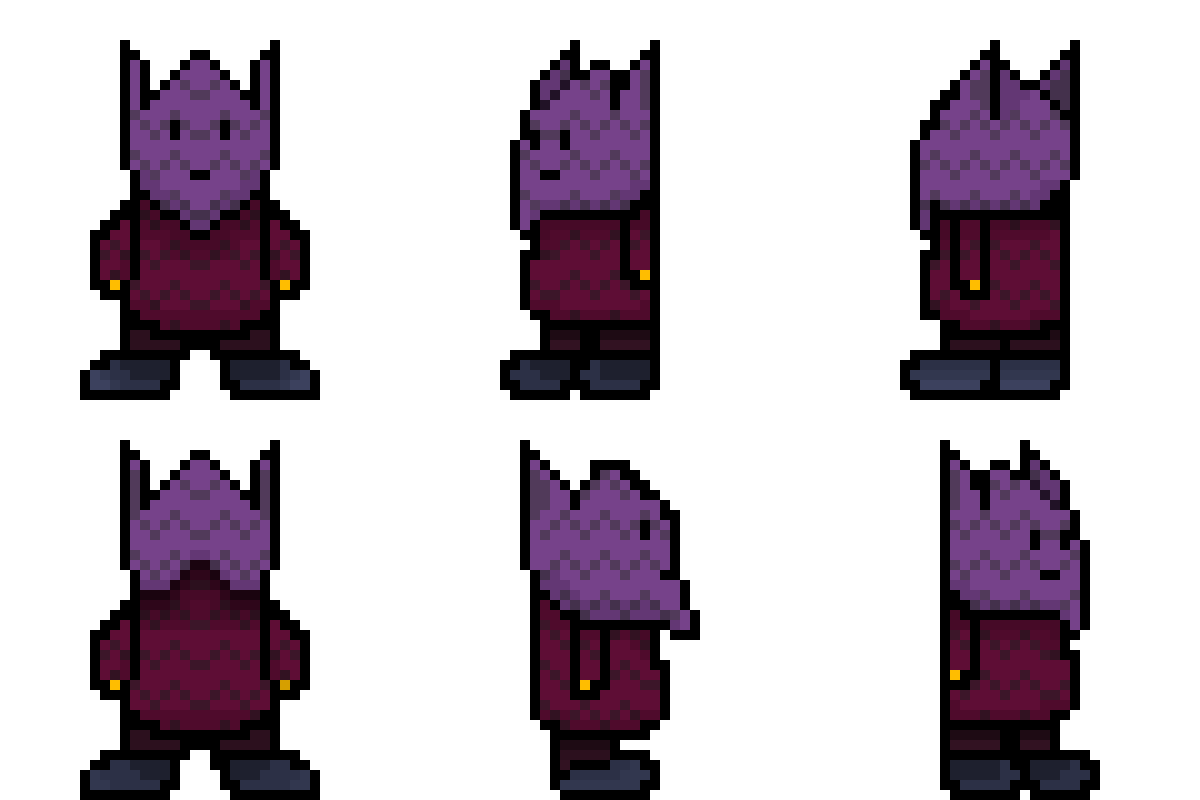
Residents of Meadow Village
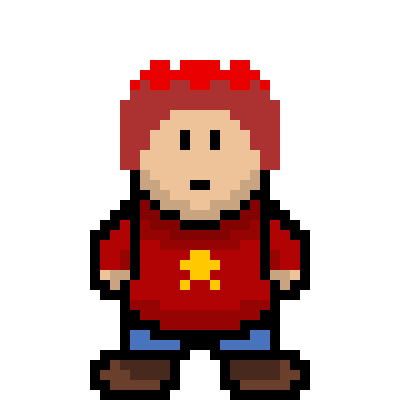
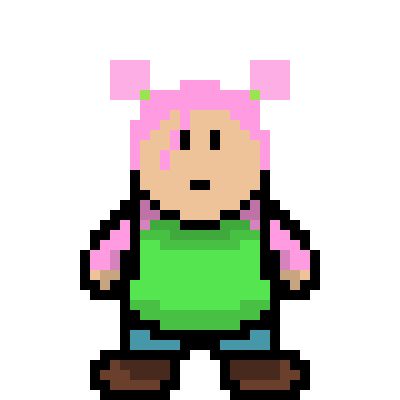
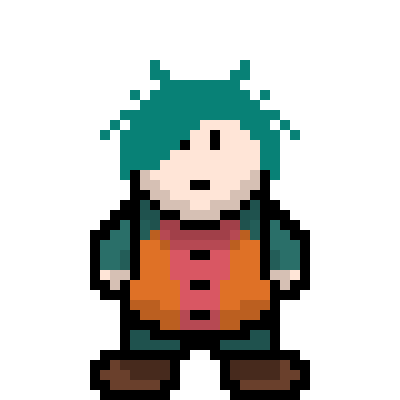
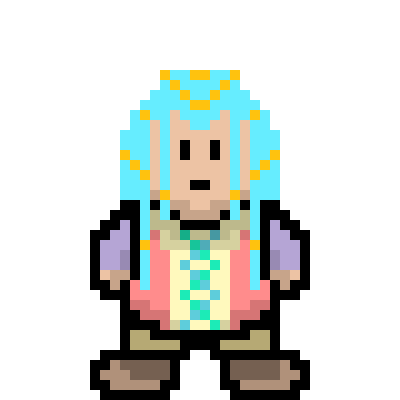
Environments
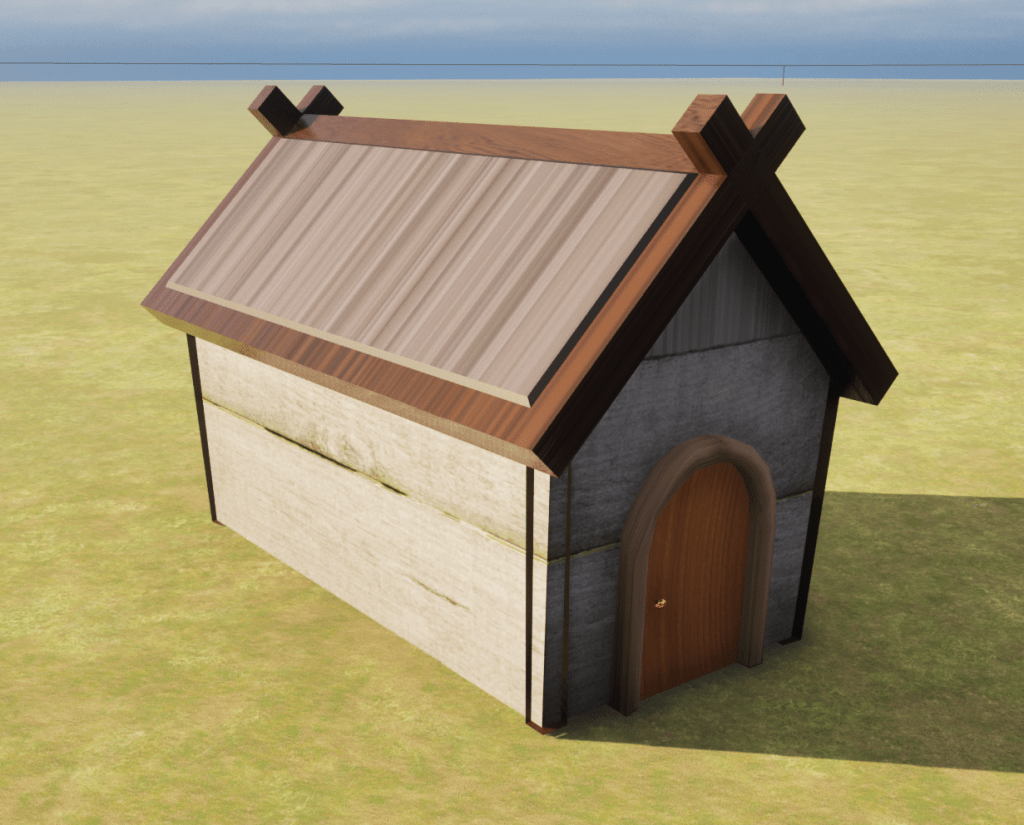

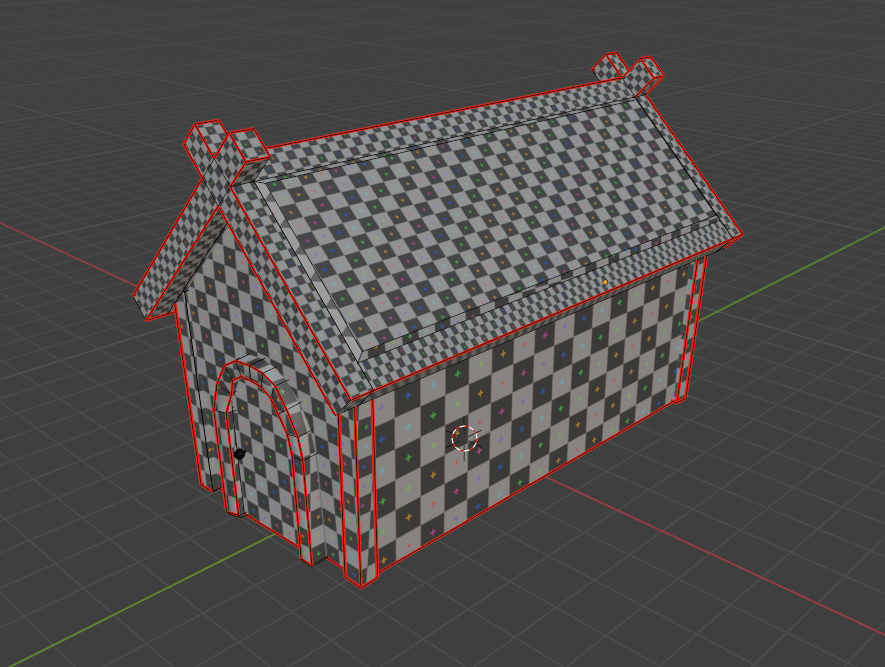
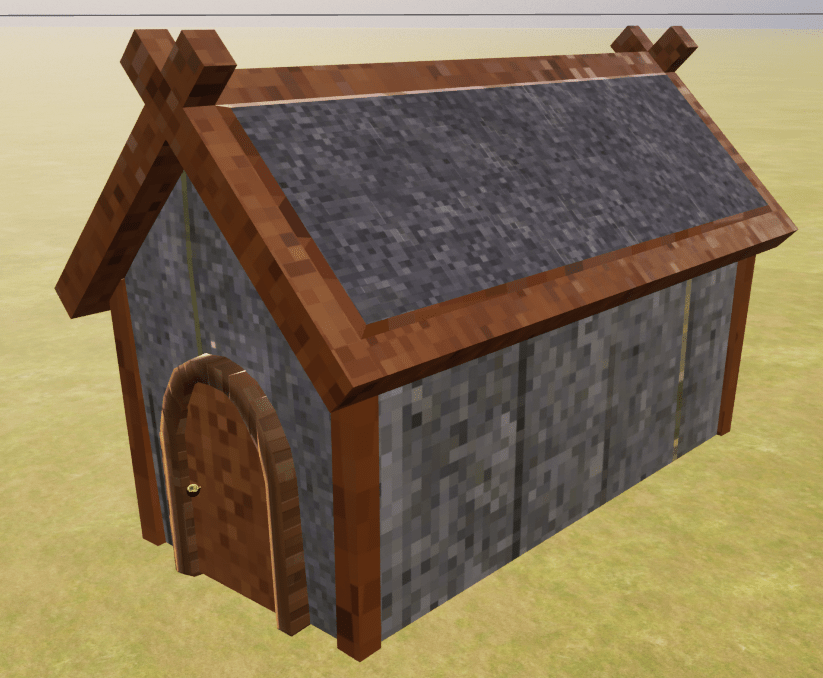
I created a small house that I could use in my hub world. There were multiple errors in the first instance I brought it into Unreal, firstly some of the textures came through stretched which is an issue with my UV mapping (UV mapping is the 3D modelling process of projecting a 3D model’s surface to a 2D image for texture mapping). Secondly, the pillars at the corners of the house are appearing inside out. This I learnt is due to flipped “normals” that can be fixed in Blender or in Unreal by making the material two sided. The UV mapping required being a tutorial on how to remap them in Blender with a mix of “cube projection” and “projection from view”.
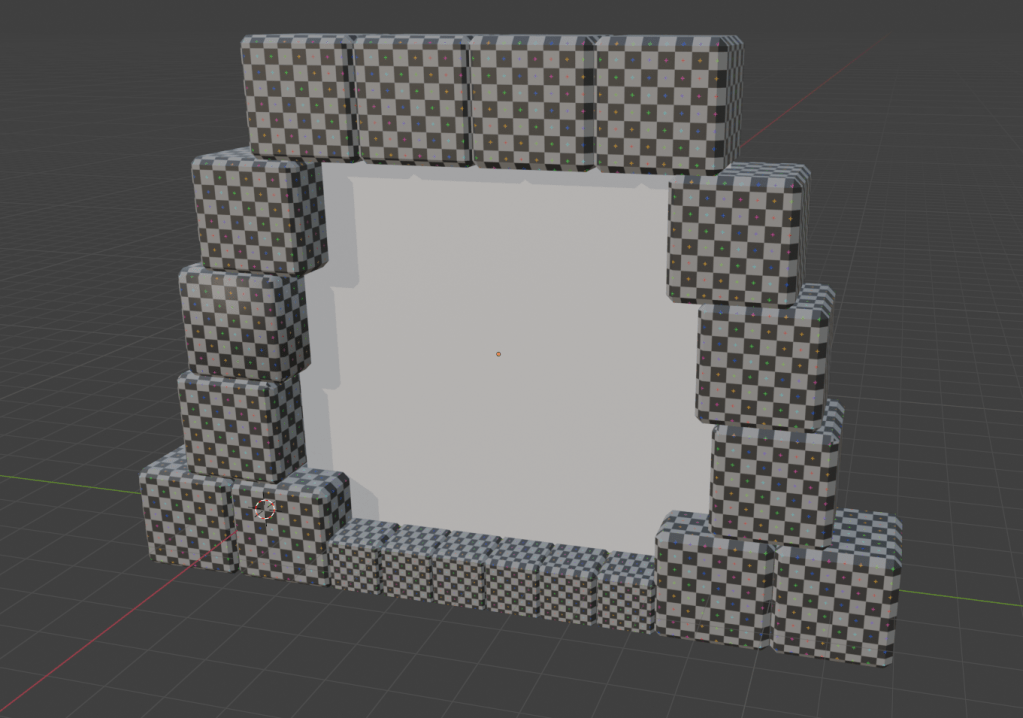
After gaining more knowledge on how to model in Blender without creating warped UV mapping, I created rocks for the cave level and stone blocks, torches and pillars for the third level and a portal to use on all levels. For the rocks I took a cube and subdivided and distorted it until I had a rock shape, I did this eight times to provide a variety of rocks for the level. For the stone blocks I simply bevelled a cube’s edges to create stones building blocks; I used these stone blocks to construct my portal. For the pillars, I took a twelve sided cylinder and inset faces to create the typical pillar effect. I also created three variations on the pillar by changing the top of them to show varying levels of degradation. I used another cylinder to create a torch that I would place a fire emitter on when I imported it into Unreal. Fortunately, thanks to learning early on how to correct the UV mapping as I constructed the models, the resulting UV’s came out acceptable first time.


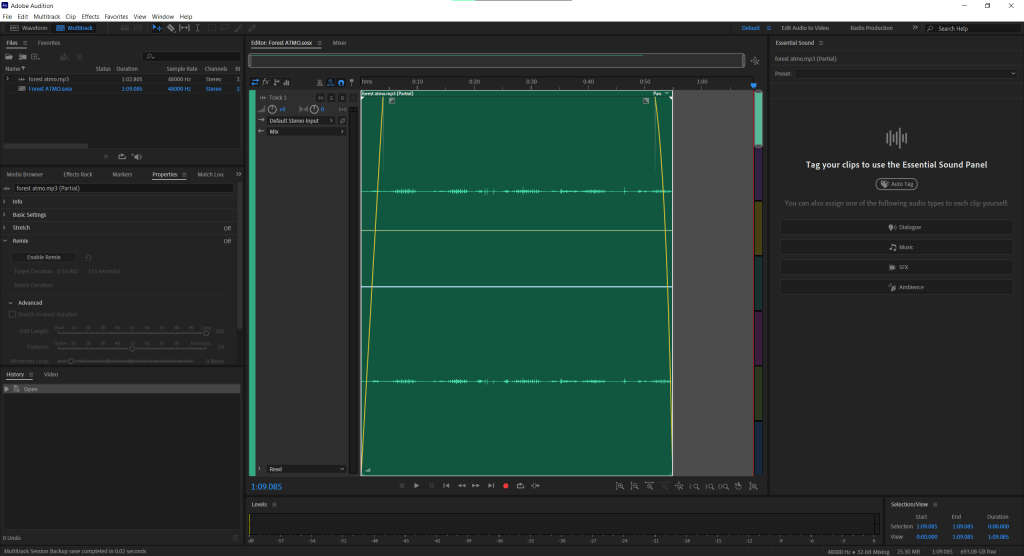
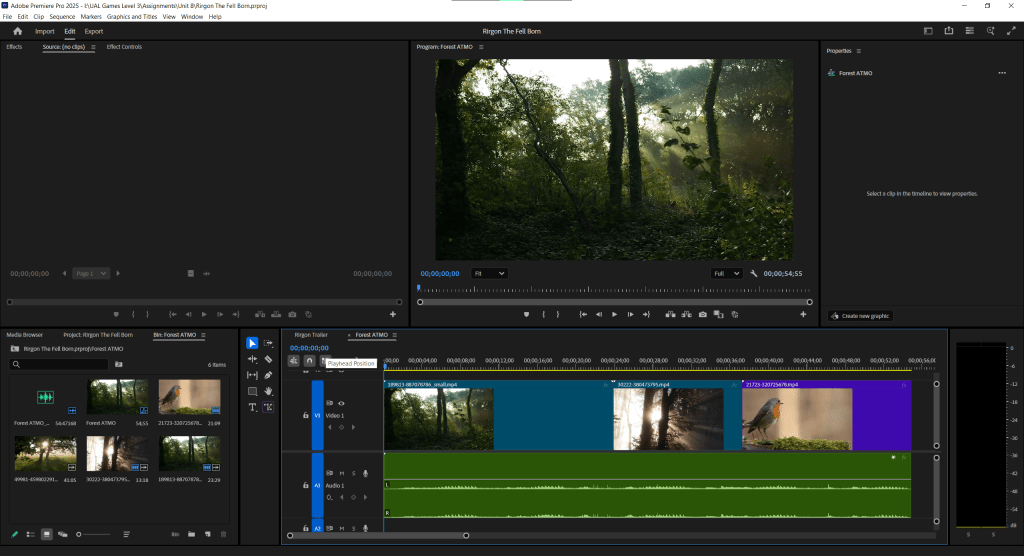
For the first dungeon crawling level I had collected some forest atmosphere sounds. I brought the raw audio from my phone into Adobe Audition and used it to fade in and out the audio as well as editing it to remove any unnatural and unwanted sounds. I also created a short video with the atmosphere sounds as the audio and using stock footage from Pixabay of a forest.
Story Outline
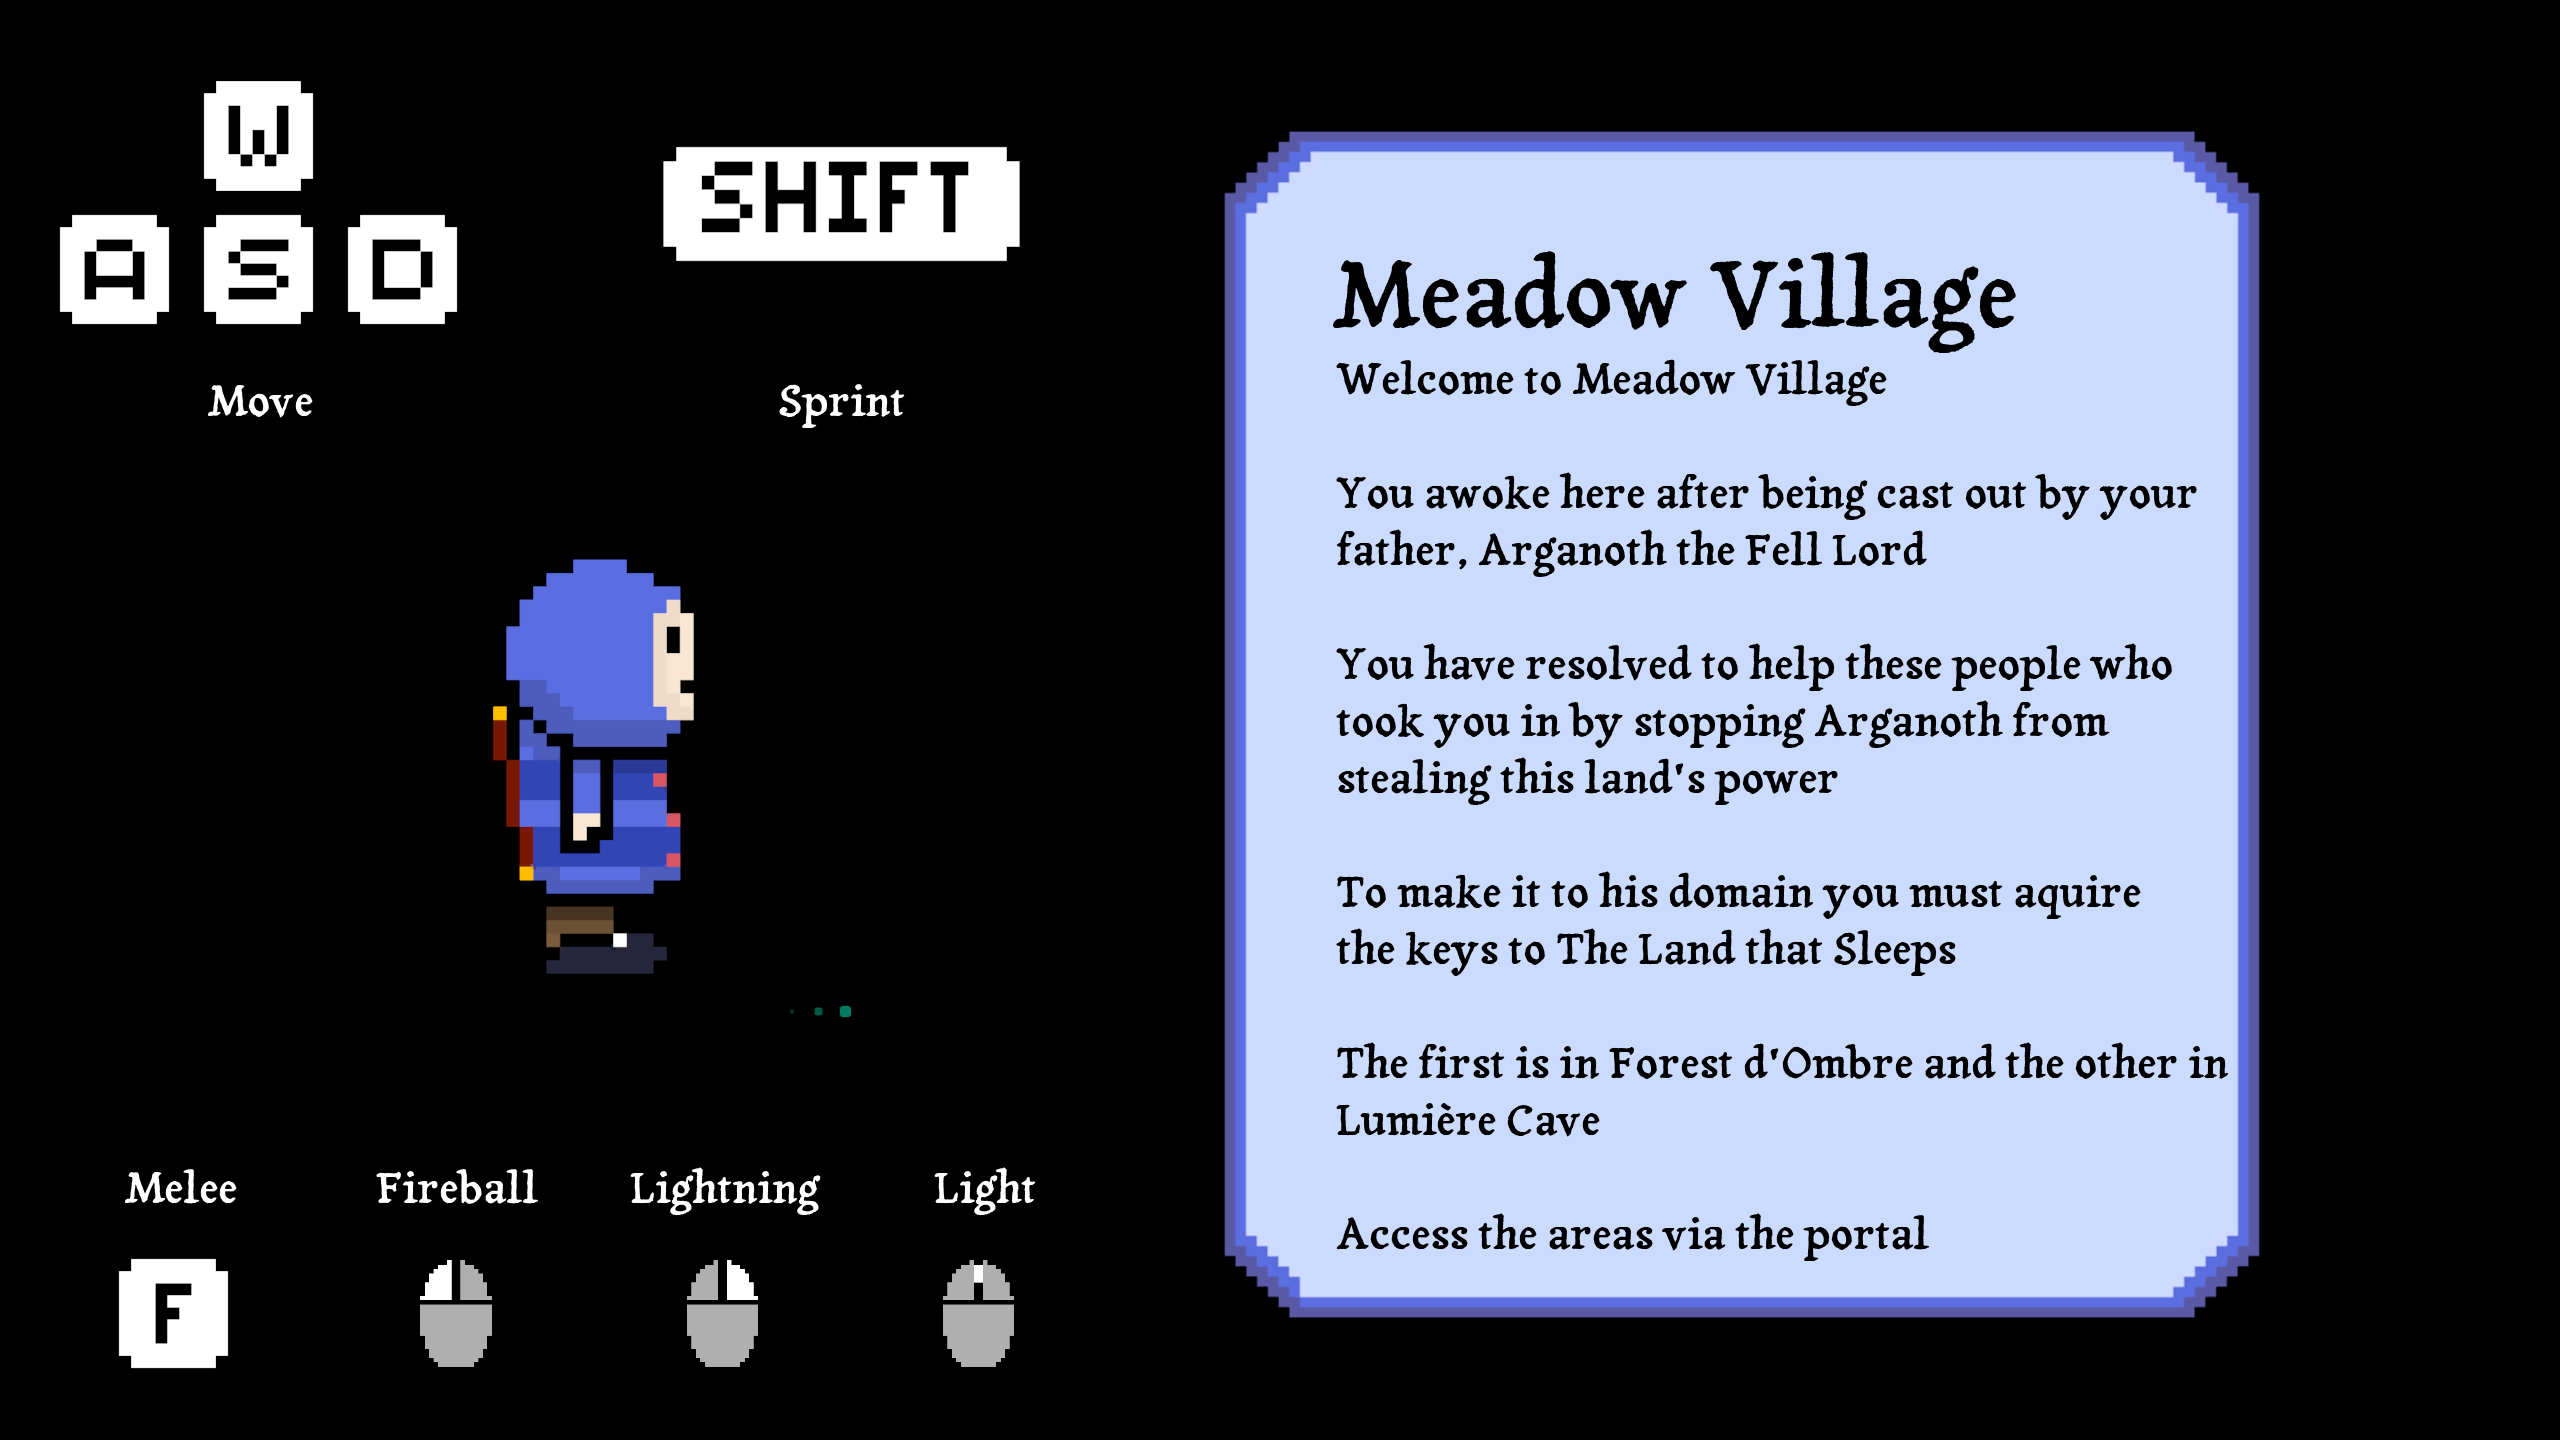
The story starts with Rirgon in Meadow Village after being exiled out by his father for his weakness along with his kind nature. The villagers are welcoming yet he knows that his father is seeking to steal the power of the land, Rirgon seeks to stop his father. The villagers help him along the way guiding him through dungeons to regain his magical power and give him a quarterstaff to defend himself.
Delivery


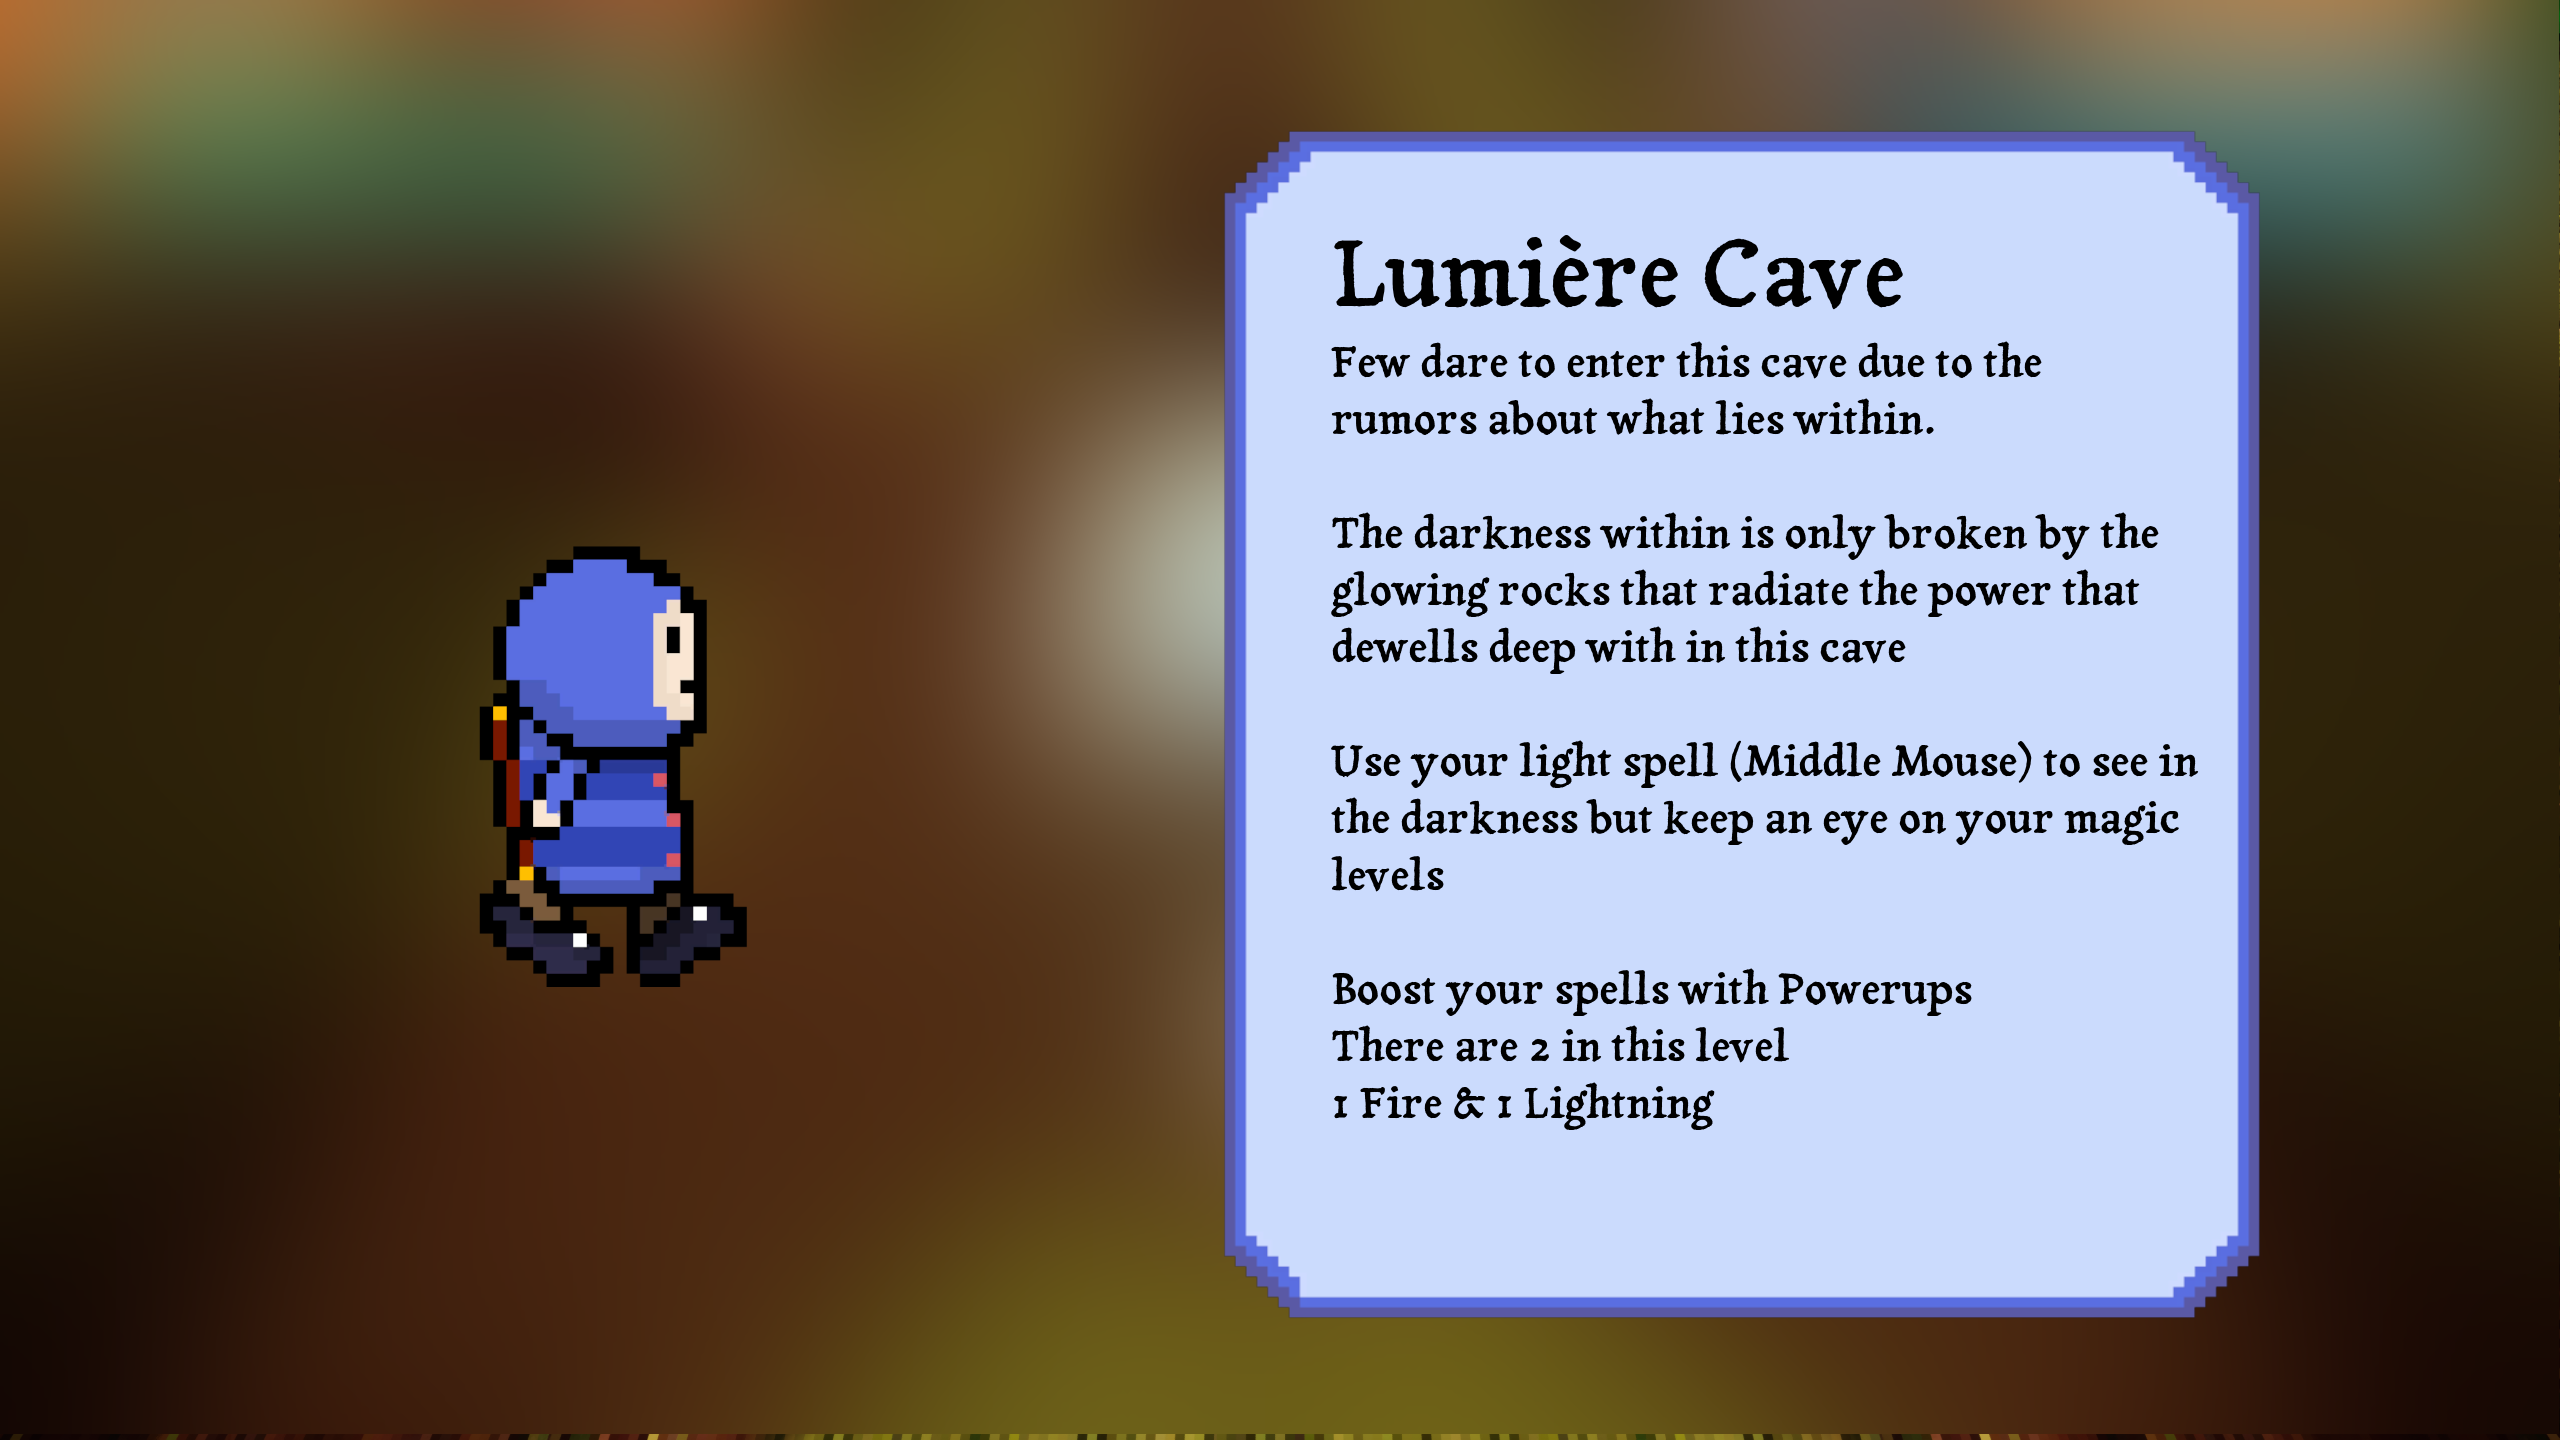
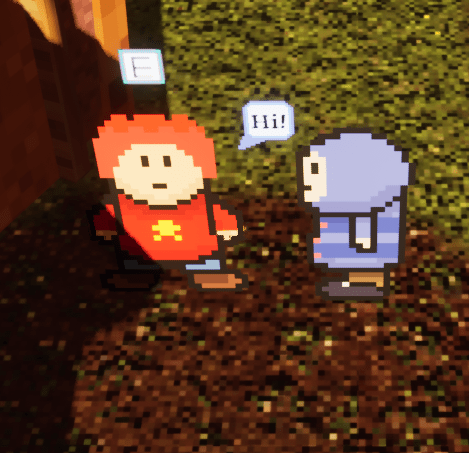
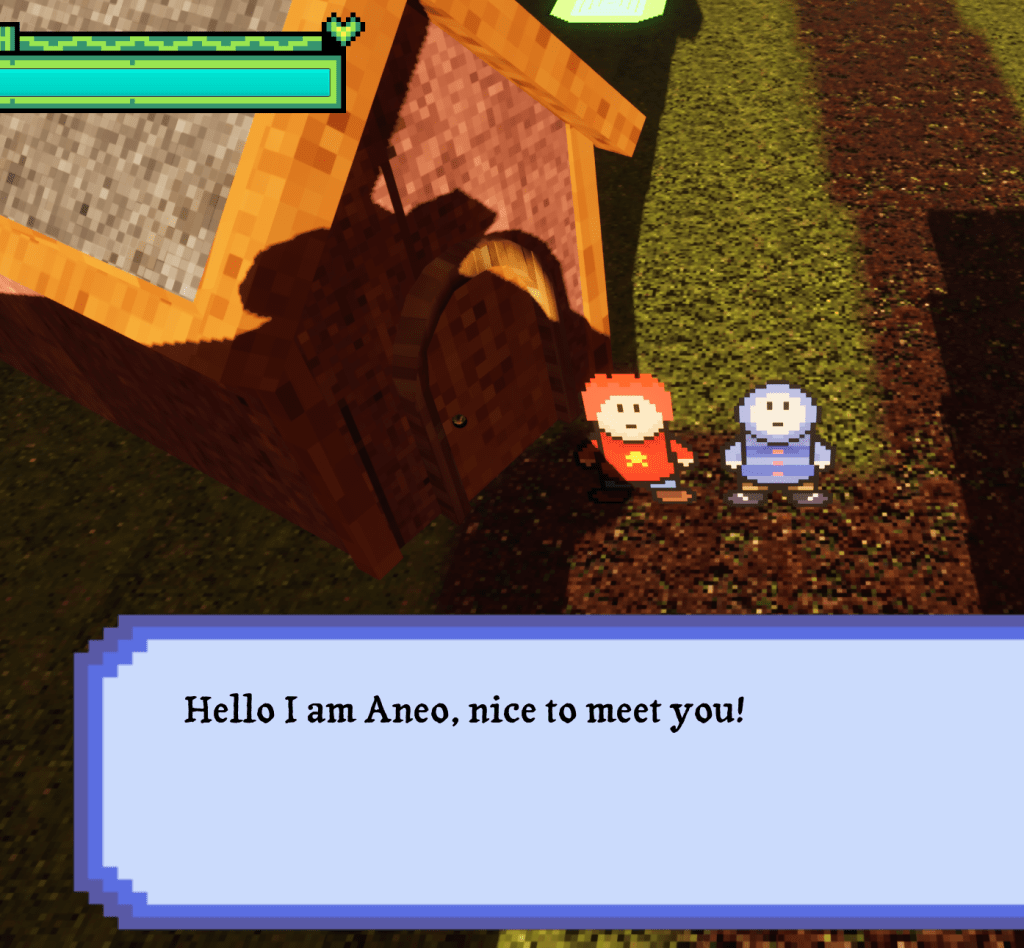
The delivery mechanism for my story is to have loading screens which explain the base of the story. Additionally an interaction mechanic that allows the player to receive dialogue from characters that provides more detail. The loading screens were easy to execute as they are widgets which are added to the player’s viewport as a level loads. With having characters that deliver dialogue I had to explore creating an interaction system. I found a great article on Medium (Outlaw, 2024) about how to create a simple interaction system. The way this is done is the player has a collision box in front of them, or in my case around them as the character root doesn’t rotate in a Paper ZD character. When a intractable component enters it, an interaction key prompt appears over the intractable object. If that key is pressed it will display the dialogue box with set text. It is then dismissed when the text array elements are exhausted or if the player moves away. The dialogue delivery, the loading screens, character art, level design and audio within the levels all provide context for the story.


Mechanics
Player’s Combat
Progression
When the player spawns in Meadow Village they will have no magic or weapons, when they attempt to leave the village they will hit a barrier and are told by Chilia that they should get a weapon and that their brother Aneo has a spare quarterstaff. This I feel adds depth to the game and makes the player feel like they are progressing. To further this I added powerups to each level that first give the player access to each spell and then enhance the power of the spell.
Melee
This was not part of my original plan for the combat but when I found the player ran out of magic they lacked any way of defending themselves which caused the player’s death and game over. I thought to create a melee attack that did not require magic to use which would allow the player a way of defending themselves. I created the animation of swinging the quarterstaff first for the attack so I knew what attack would look like before doing anything in Unreal.
To create this I started with a new enhanced input (Unreal’s new input system) and added it to the mapping with the key press of the F key. When this key is press it checks to see if the player has the staff by “casting” (a way of getting a hard reference to another blueprint) from the “game instance” and checks the “has staff” Boolean with a “branch”. The “game instance” is a data storage which store variables with states that persist between levels, this is acts similar to the Random Access Memory (RAM) of a computer as it clears when the game is closed. If this check is true the player’s movement is stopped and the animation is played. As the swing of the animation plays a “sphere trace” is called and if a enemy is caught by this trace they are damaged. The damage that is applied is 20 unless the player’s magic is greater or equal to 99 is that case a branch increases the damage is 30. This aspect was inspired by the sword beam from The Legend of Zelda where if Link has full health he can swing his sword to fire a sword beam allowing him a ranged. This attack also triggers a magic recovery so if the player lands a hit the player’s magic is recovered by 10 for each hit. This aspect was important as I found in testing the player ran out of magic easily so this idea was conceived to create more strategy to combat.


Fireball
When conceptualising the combat the first spell I thought of was a fireball. This is because of its simplicity, believing it be simple to execute. When I set out to make it within my game, it ended up becoming the greatest challenge I had when creating this game.
Two key issues arose when creating the fireball:
- The fireball did not appear with parallel rotation to the camera or two dimensional as intended,
- The fireballs did not travel to the position of the mouse click, only in the general direction but are not precise.
I guessed my problem of direction of the fireball resided with the transform component of the “spawn actor” node, so I set out to divert some of my research time into understanding them better. See Research on Transforms. For the fireball’s rotation I tried a few solutions, one which came to me in the early hours of the morning, this was setting the fireball to inherit the camera’s rotation. This worked but required casting to the player character. I know that casting is a resource intensive action so should used sparingly. As my fireball is a projectile where more than one can be active at one time this solution to my problem was not viable long term. I looked for other solutions and found it quite quickly and entirely by accident, when forgetting to connect a value to the X pin of the “set actor location” node I found the fireballs fired perpendicular to the camera. Realising what this meant this, I set the value of the X pin to 90. With shock I saw it work, pleased yet astonished that the solution would be so simple.
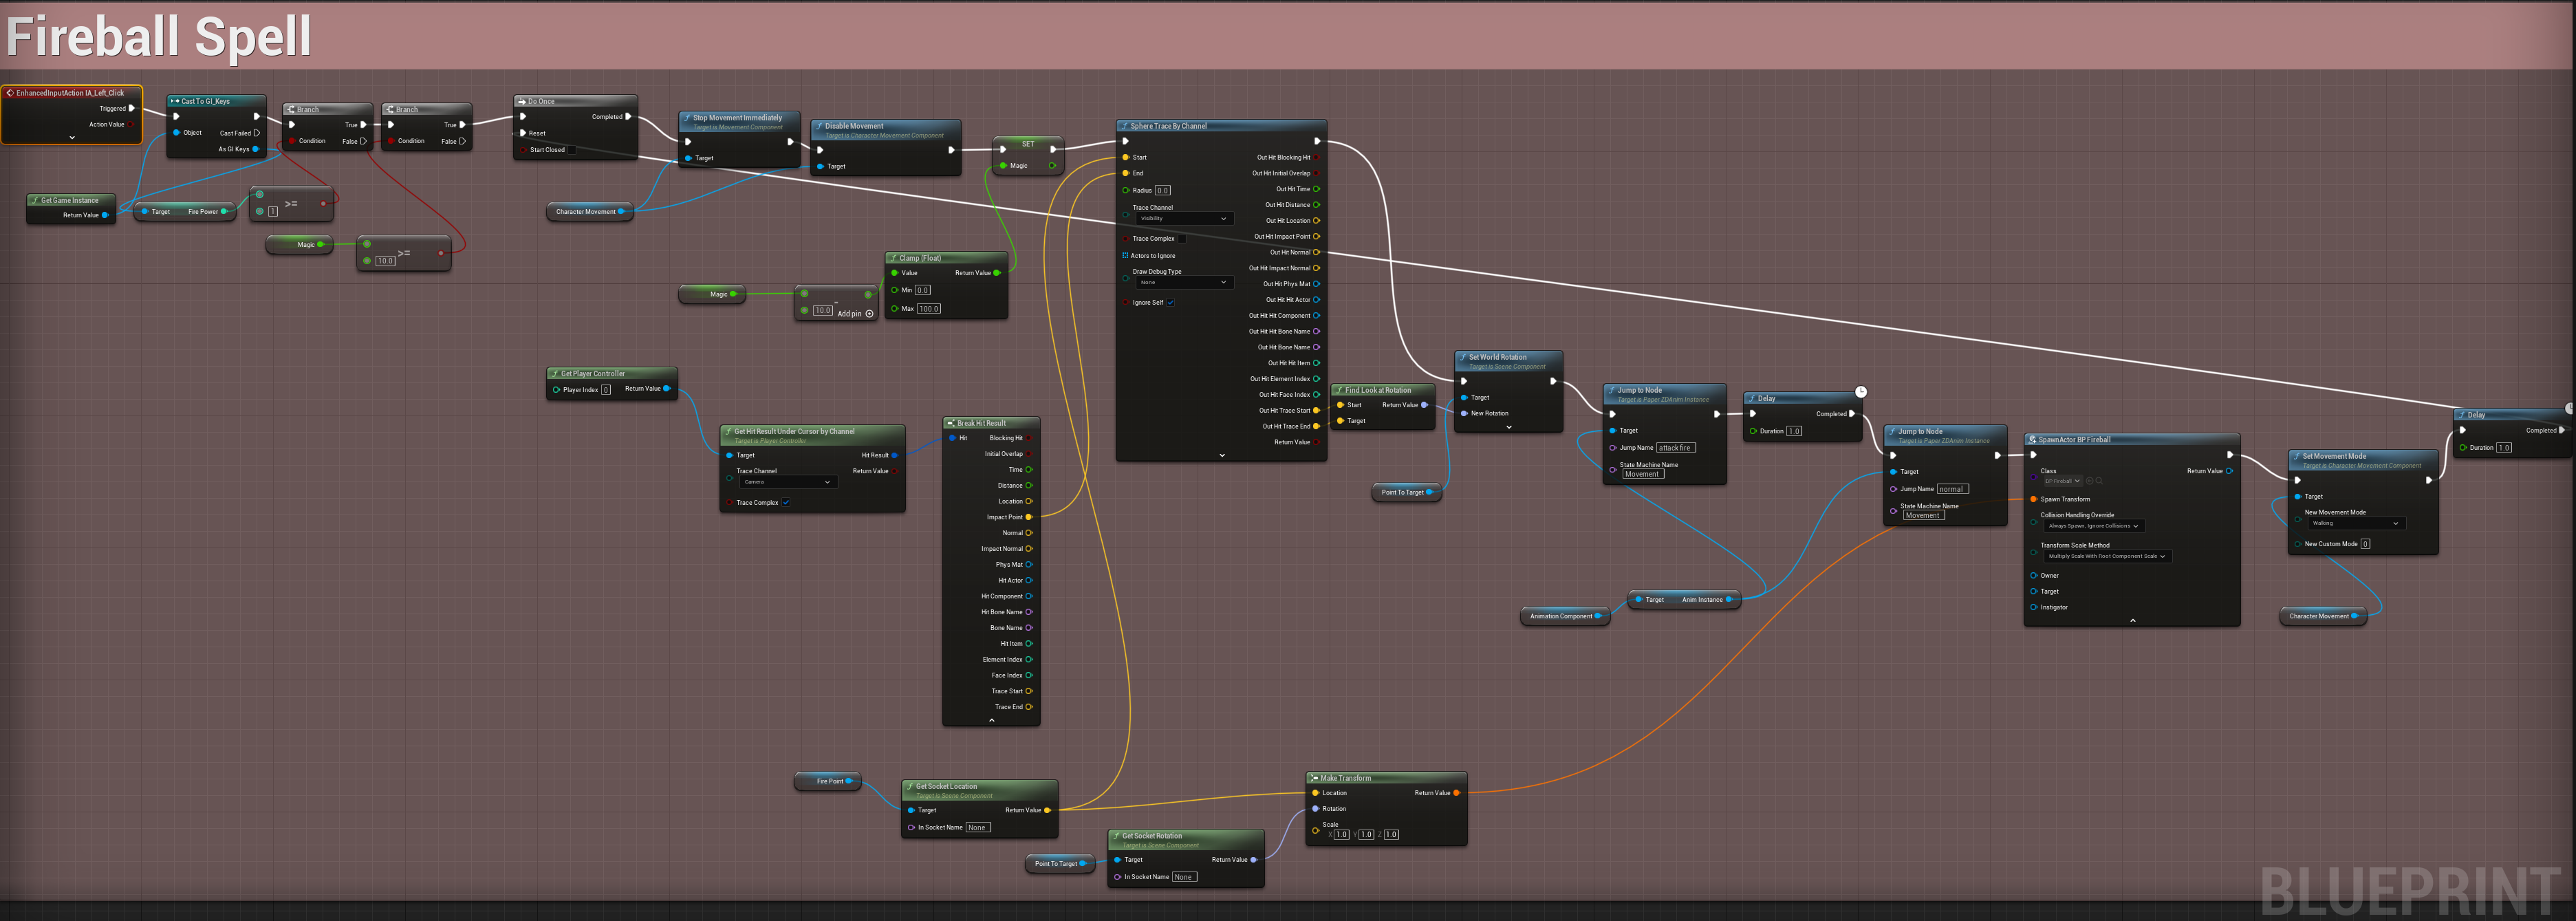
After a lot of complications I now have a working fireball which fires from the “fire point” to the mouse’s click location using a rotation set by a “line trace” (See Research on Transforms).

Lightning
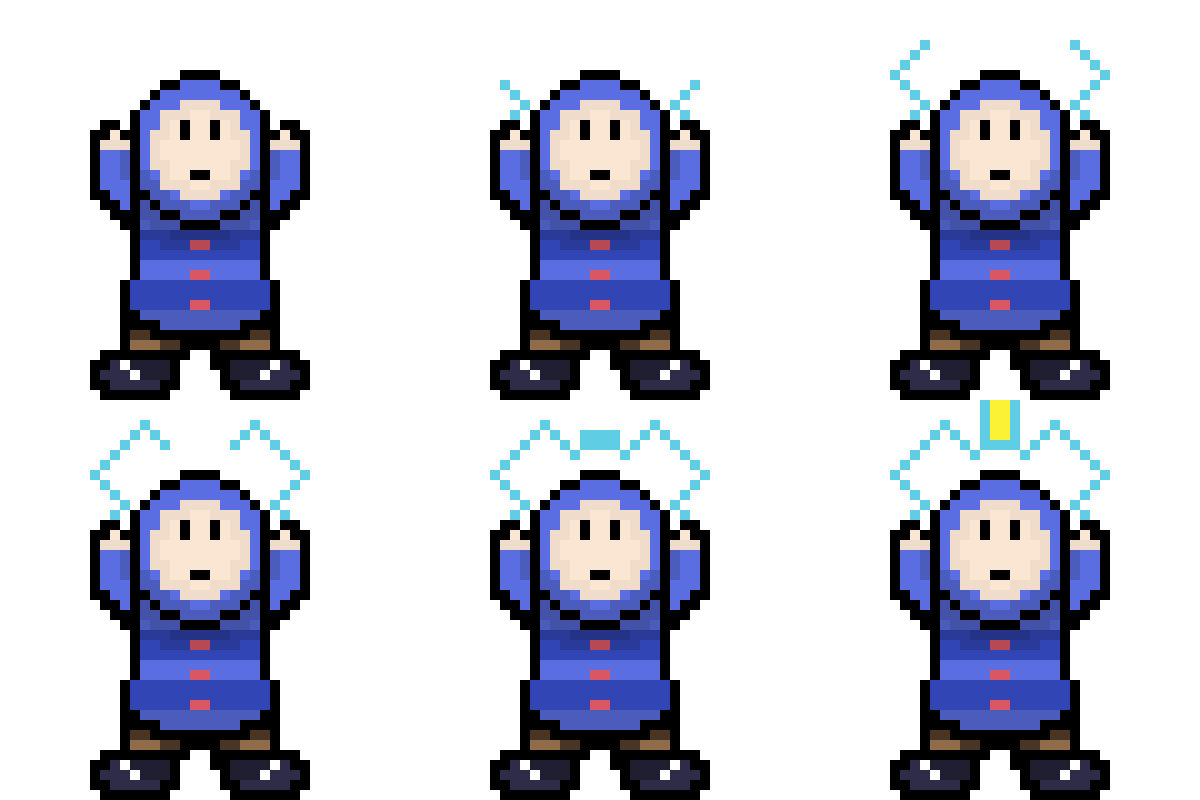
During the creation of the fireball spell I suspected I would need a back up spell in case I could not make it work, so I set out to create a lightning spell. I found a simple way to create this spell when creating the fireball. One of my first tests of the fireball, that I discarded was a fireball appearing out the ground where the player clicked. I reverse engineered this and set the impact point of the mouse to be the spawn location of the lightning. Within the blueprint of the lightning I set it not to move and to play its flipbook animation of the lightning striking once, then destroy itself and any enemy caught within its effect radius would be damaged.

Dungeon Crawler Enemies
For my mechanics I started with what I thought would be the easiest to do as I had already done it before, enemies chasing the player. I created my enemy blueprint I did as I had done before and added pawn sensing so it could see the player when they entered its vision. This brought about the first problem, due to the 2D character not rotating the enemy would always be looking towards the camera and if the player went behind them relative to the camera it would result in the enemy not being able to detect the player effectively. After testing different types of detection methods I settled on the simplest which was a detection sphere around the enemy.
At a later point I realised that the “detection sphere” around the enemy would trigger the fireball damage so you could damage the enemy even if it did not appear to go near it. My detection method had to change. I wanted to see if my fireball rotation solution could be replicated here. I tested to see if setting the sprites X rotation to 90 every tick of the game would work. I was concerned however as anything stemming from the “On Event Tick” is process intensive. In testing I was pleased that it worked and even more pleased when looking at the FPS and CPU usage did not change by anything noticeable. I then set up all the enemies to use pawn sensing.
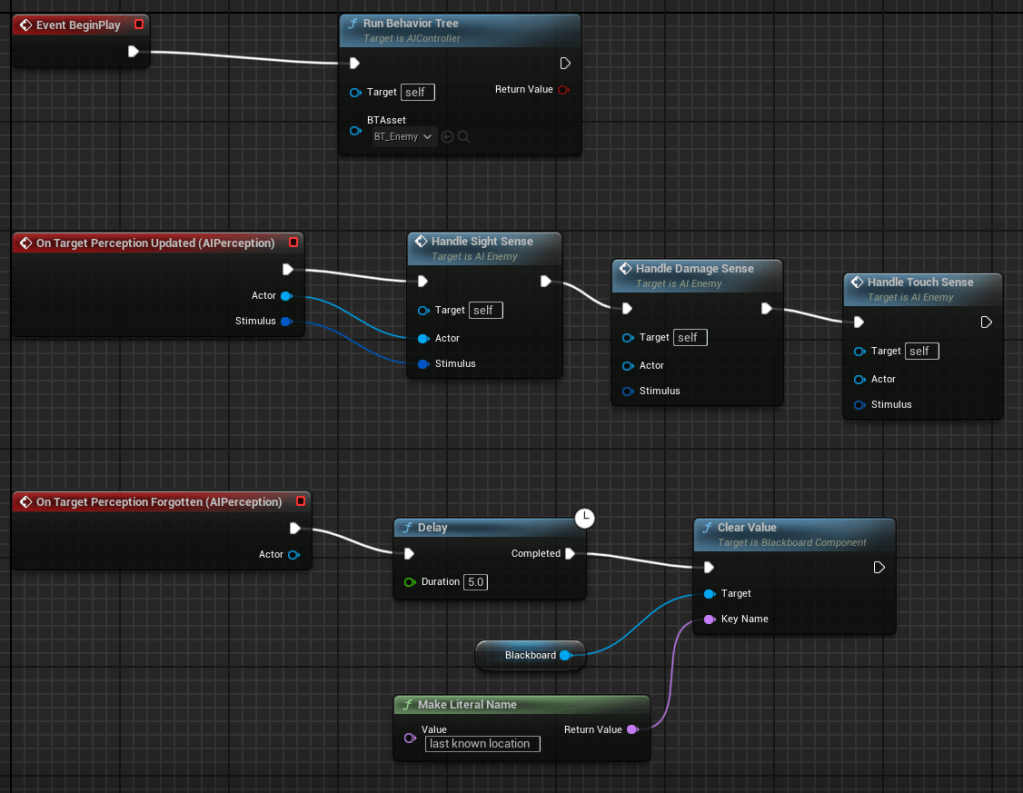
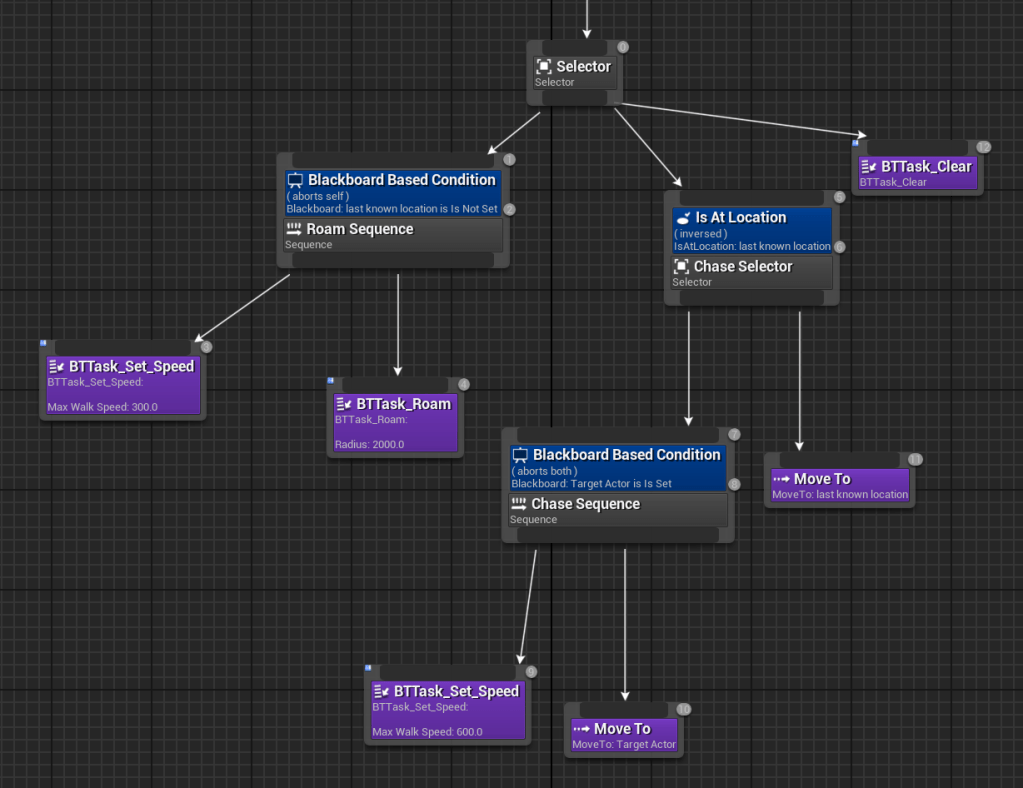
In testing 6 weeks into the FMP I found the enemies would see the player, charge at them and then suddenly become disinterested and go back to their roam function. I searched YouTube for answers on how to better set up my enemies and found a series of videos on AI perception and Behaviour trees. Following these tutorials I created a AI controller, Blackboard, Behaviour Tree and several functions for the behaviour tree to run. This created enemies that tracked the player better and overall created a better experience.
Cave Darkness & Light Spell
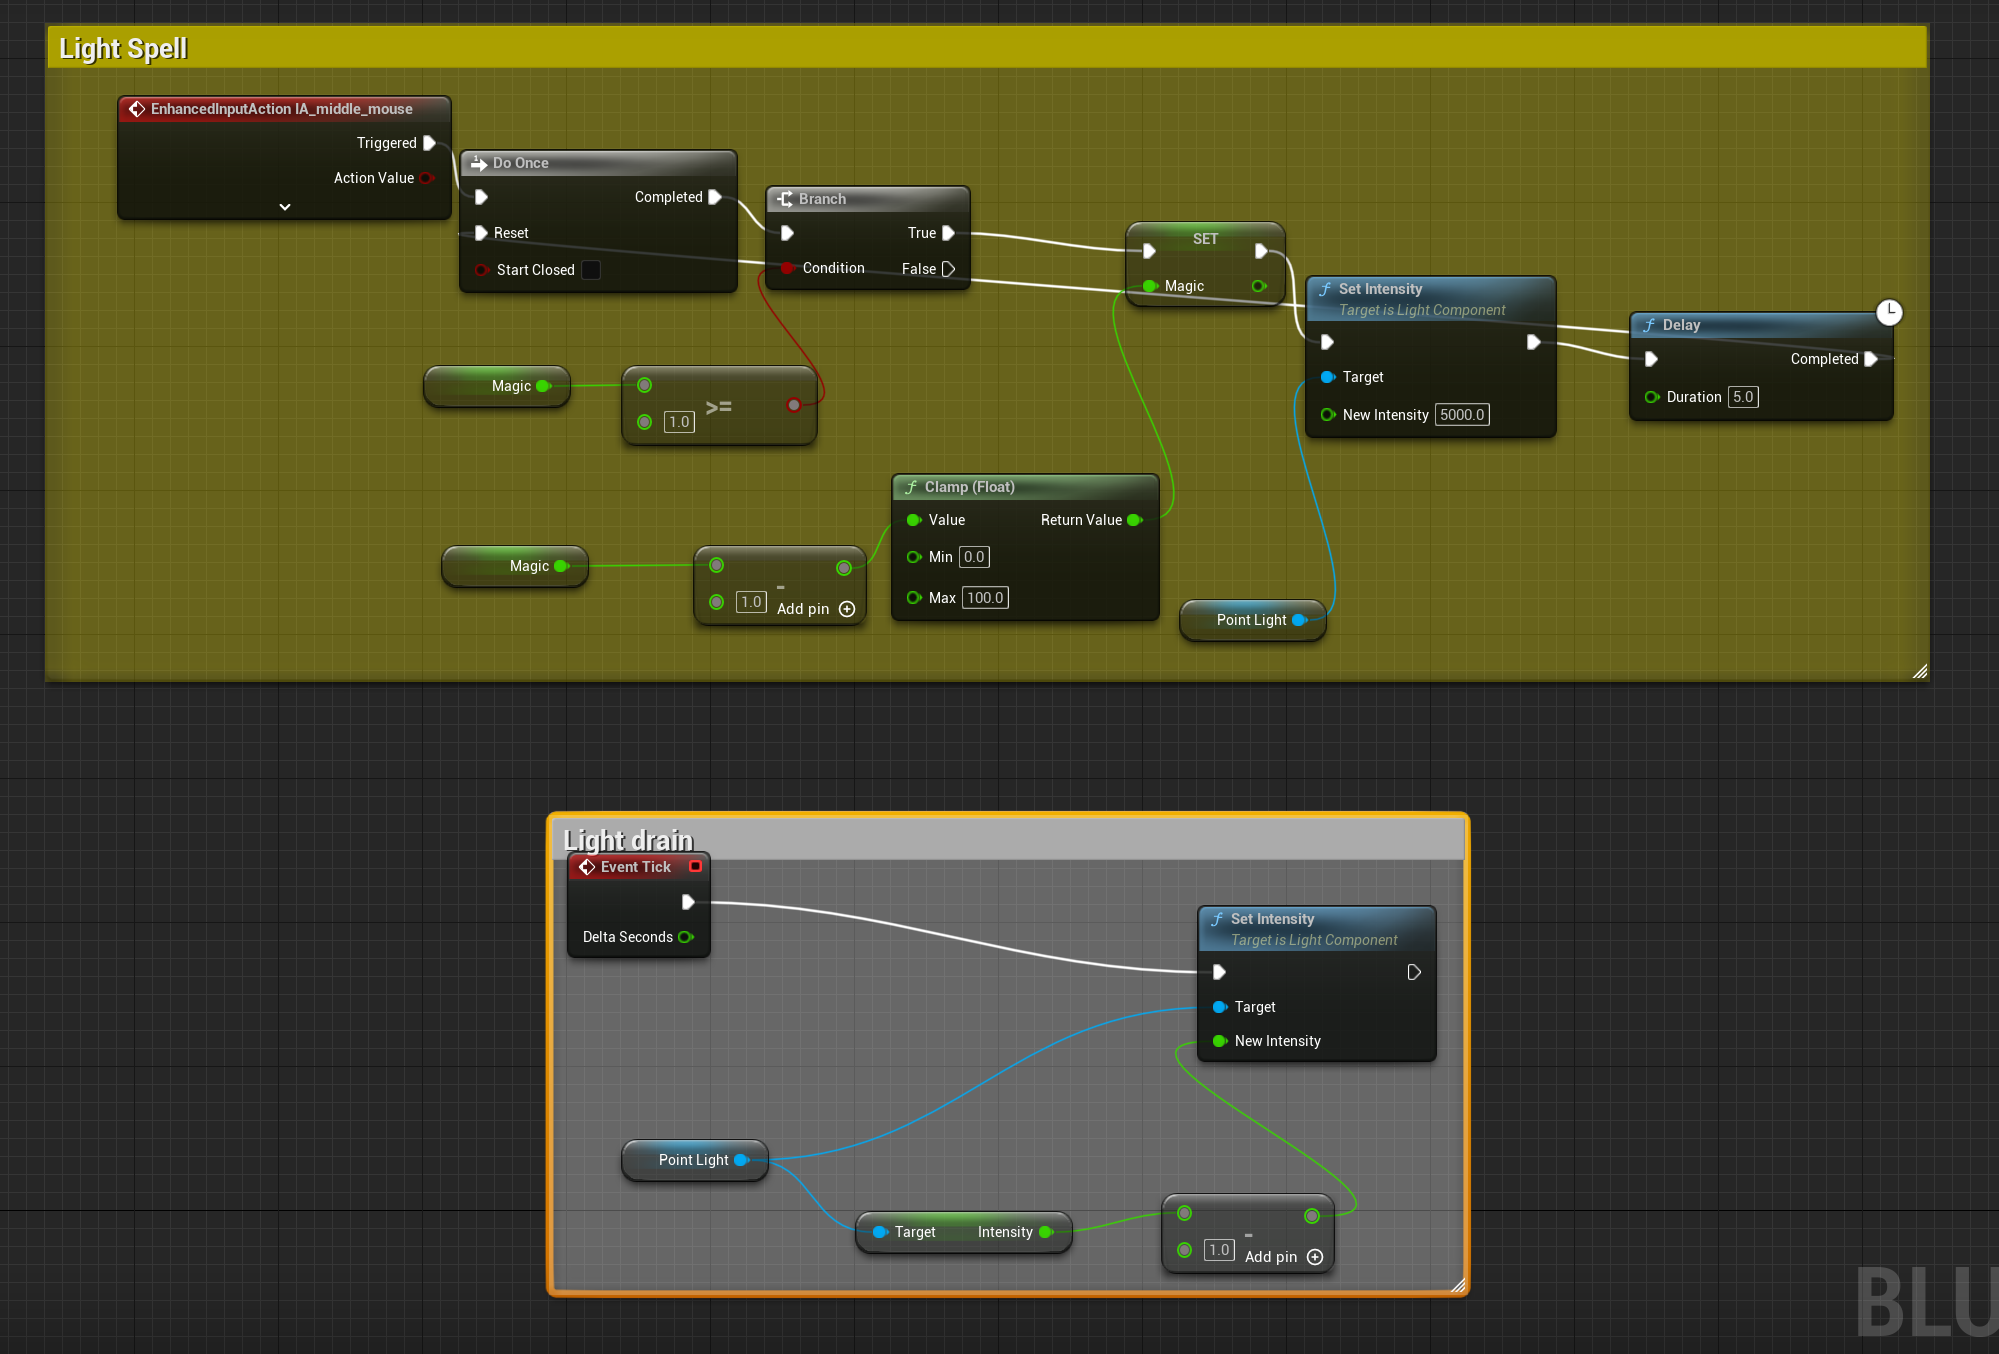
For the second dungeon crawling level I wanted to push the player by putting them in a dark cave. I toyed with the idea with giving the player a torch with fuel in this level but I couldn’t think of how to execute it. Another option I had was a light spell that used magic as fuel but if I did that I would have to make the other spells use magic. This is because if one spell uses a “magic fuel” then all the spells should. Going with this option I backtracked and changed my fireball and lightning to require a set amount of magic to cast and added the magic variable. Long term this was the right decision as I feel it added more strategy to the game which was a key feature that was desired by my focus group. Creating the light spell was simple, when activated if the player has enough magic, it set the intensity of a point light, set by default to 0, to 5000. Then I had the intensity drained by 1 every tick.
Turnaround Fog
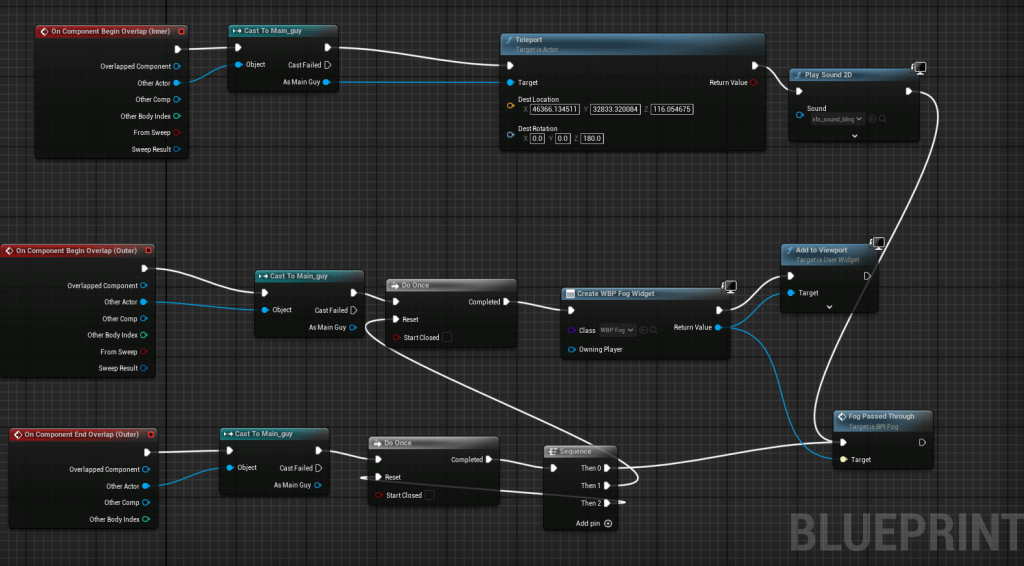
The third level was always planned to be the puzzle level that would be difficult for the player to overcome. I had a idea for how I wanted it to work, such that if the player goes the wrong way through the level they would be sent back to the start of the level. I first created an outer collision box that if the player strayed this into their screen would go white. Inside this collision box was another box that if the player entered they would be sent back to the start. The outer box also had a “on overlap end” so the “fog” would clear if the player managed to stop before the fog took them back to the start.
Boss


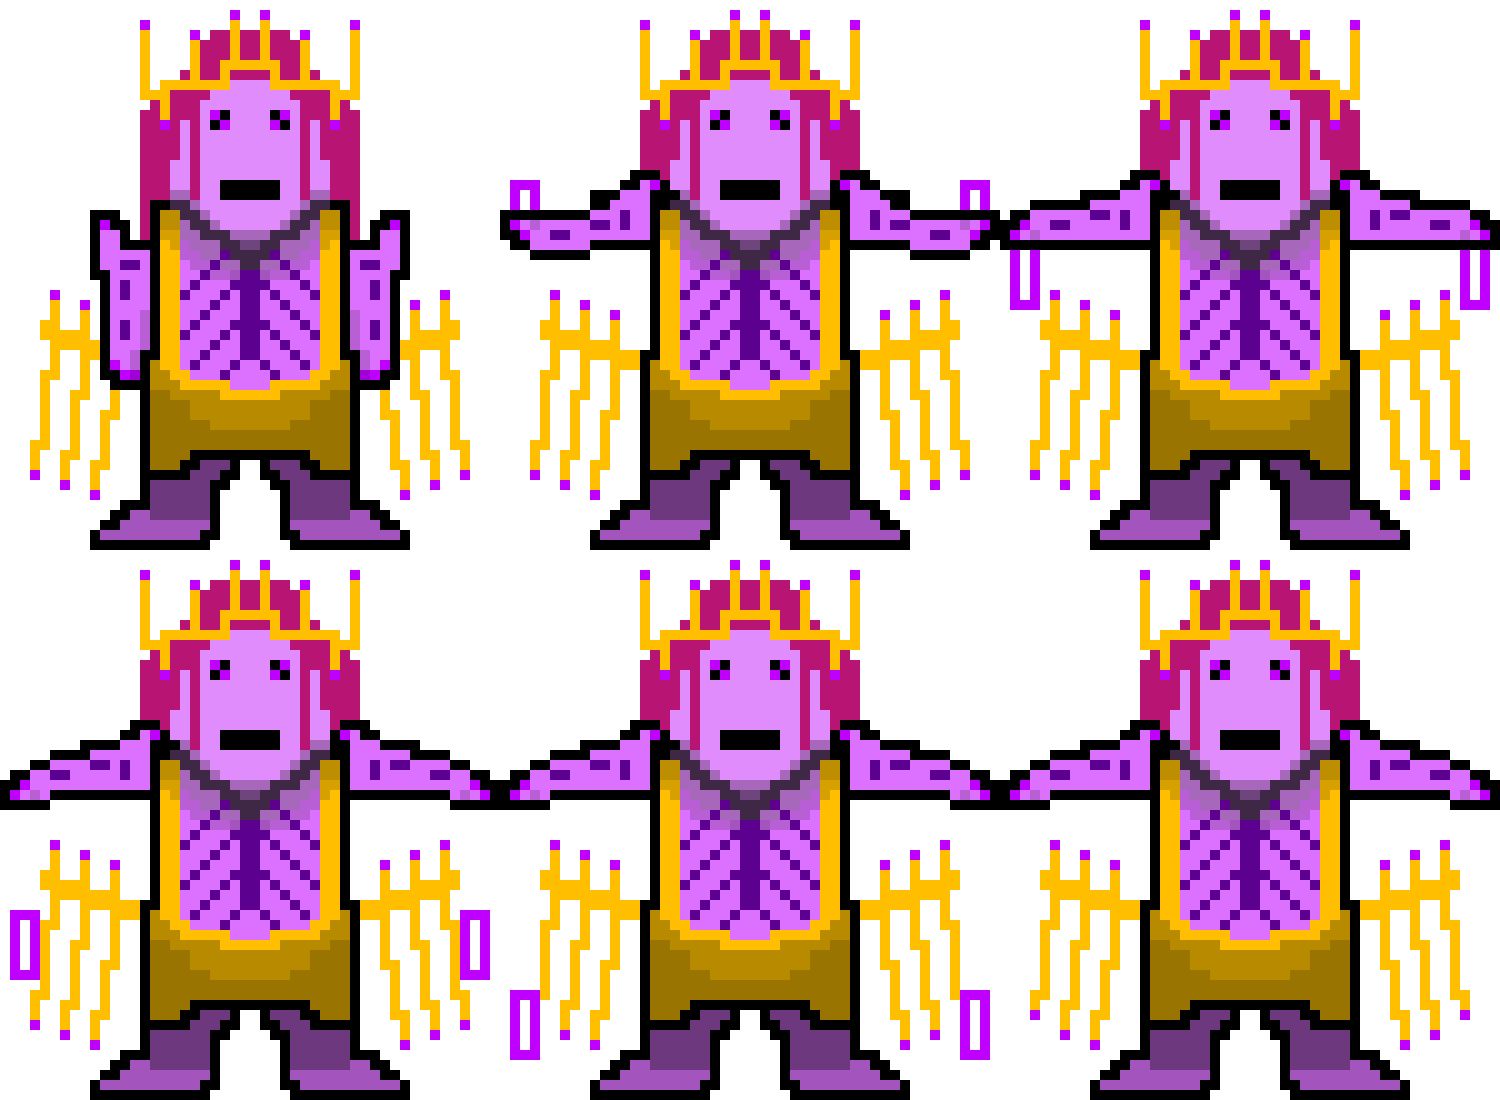
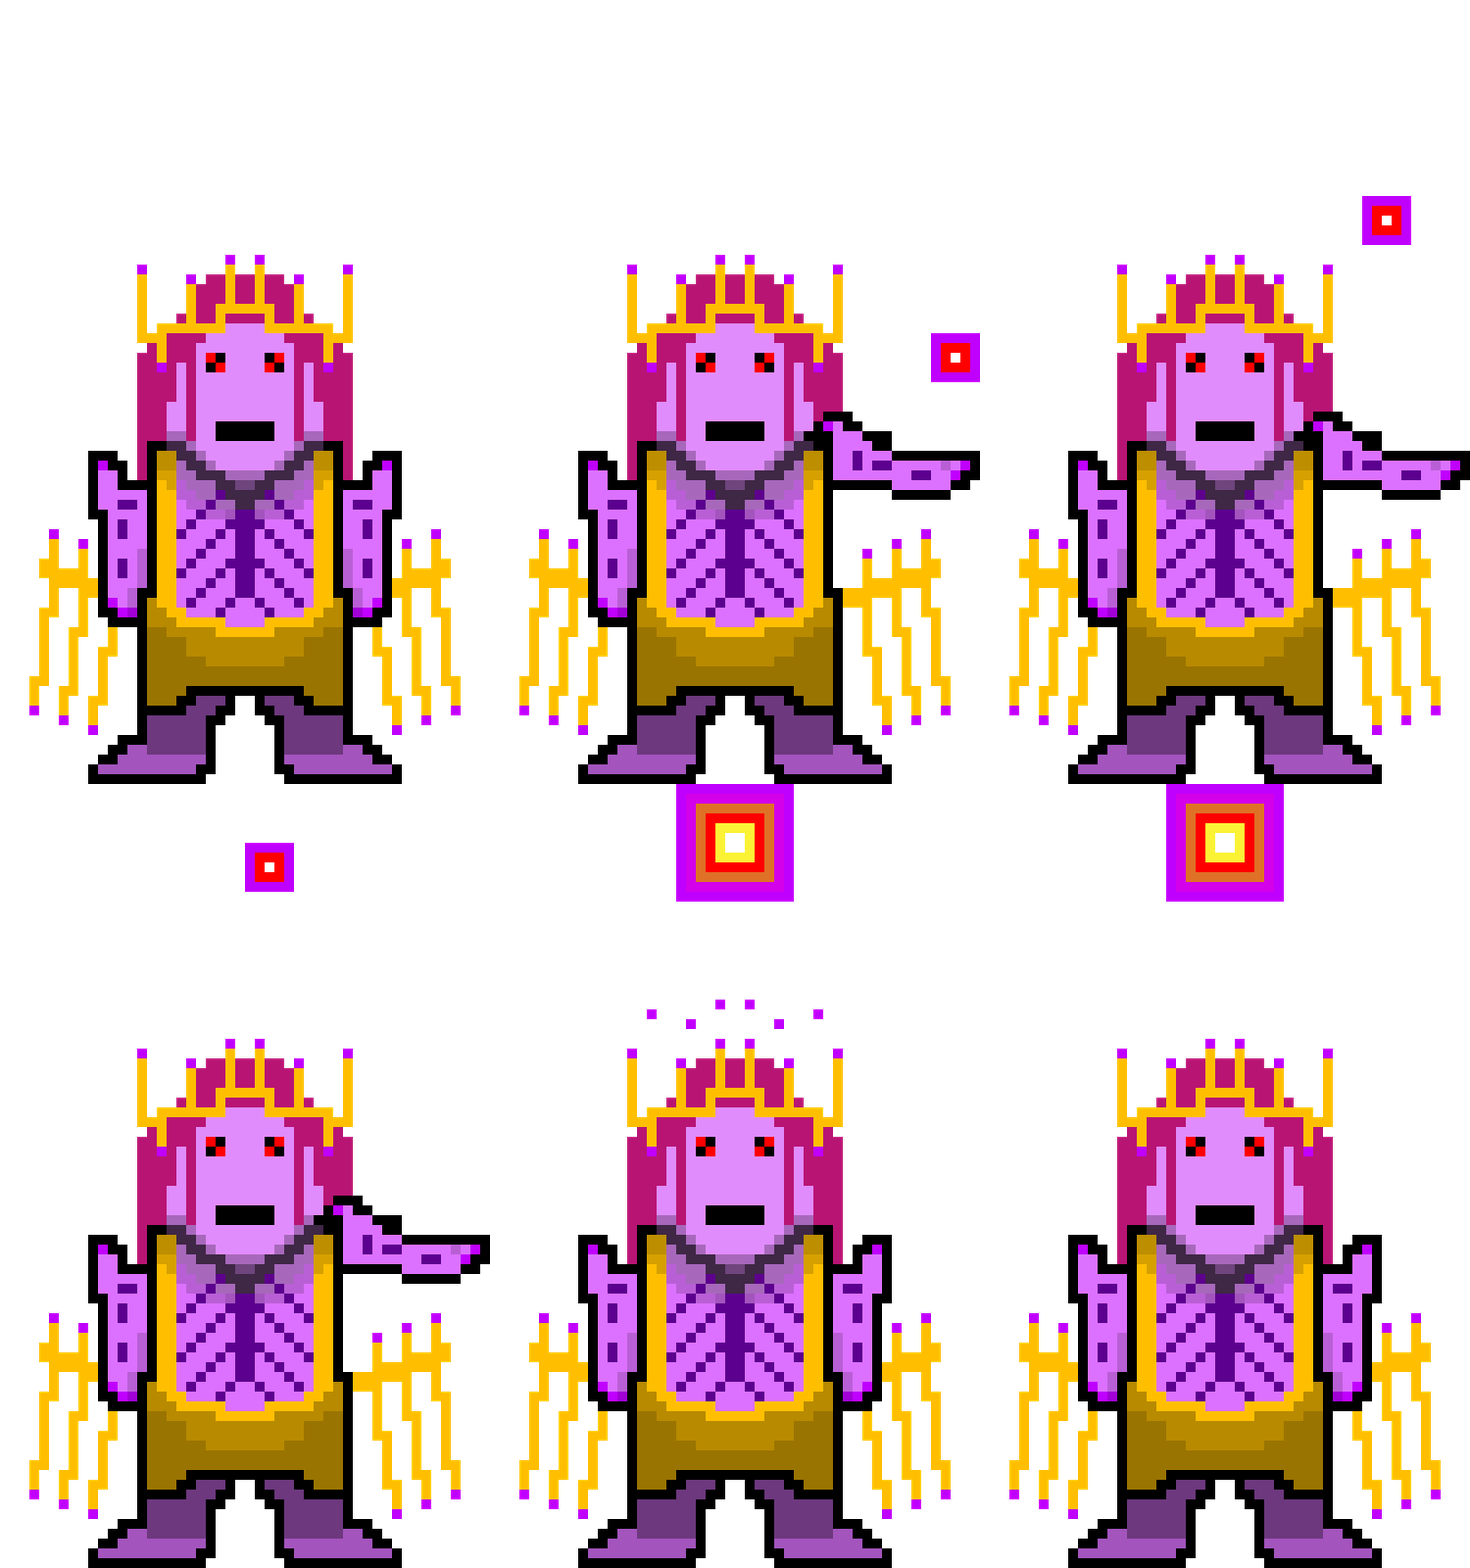
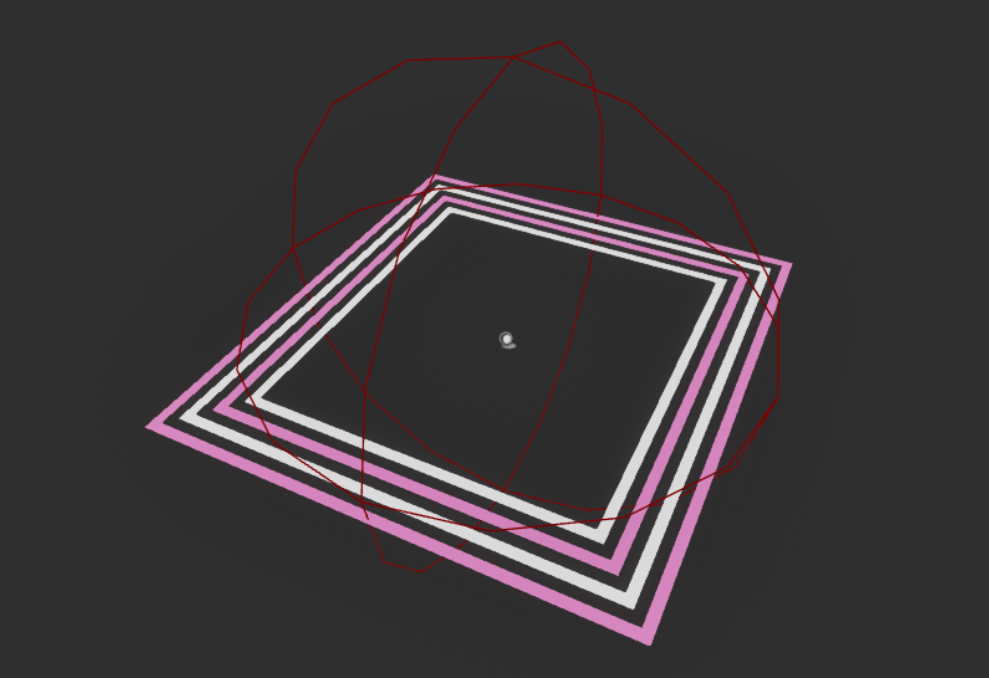
When in the earliest stages of planning this project I knew I wanted a boss at then of my game. I implemented him using the same method and the villagers of Meadow Village and thought about what attacks he would or could perform. I had found a video on area of effect (AOE) attacks on YouTube, watched it and reflected on what of that I could use. The video showed how to make lightning attacks and fire attacks with lingering fire as examples. I also wanted to make a shock-wave attack to discourage the player from getting too close the the boss. I then thought about what the attacks would look like. After experimentation with Niagra (Unreal Engine’s particle effect system) I chose to make flipbook animations for the attacks as this fitted my game’s style much better.

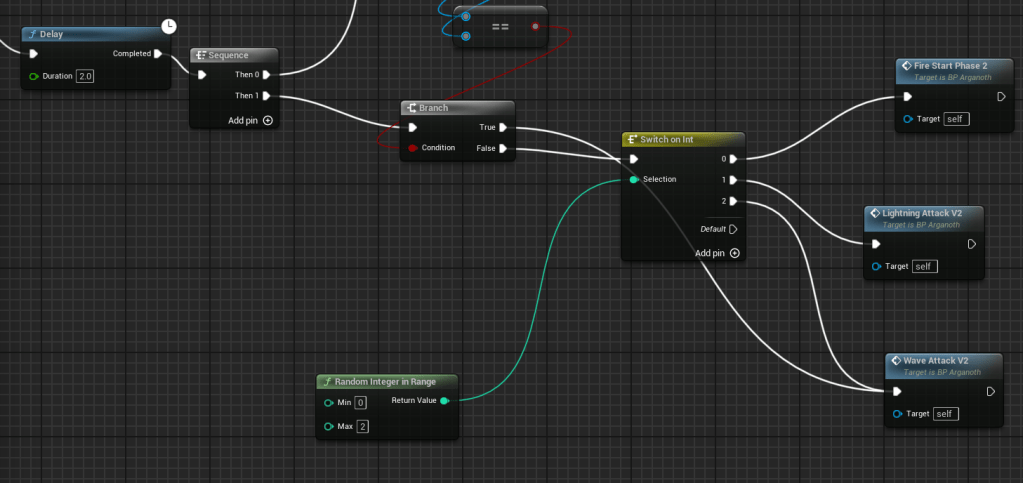
All the attacks are fed back into the boss attacks loop which then changes the attack based on a random integer.
The Fireball Attack was originally going to be dropping several fireballs that set areas on fire around the map to limit player movement. I was unable to get the fire box to work so I retooled it to have the boss spray out fireballs in a spiral, which fires double the amount of fireballs in phase 2 of combat.
Fortunately, I was able to reuse the failed fire area damage for a heal zone that I deployed in other levels.
For the “Lightning” I retooled the animation I had for the player with minor alterations. When called in first phase of combat it drops lightning within a random location near the player, so if the player moves enough they might be able to escape the attack. In phase 2 of combat this attack does three strikes with the third being larger and applying more damage.
To create the “Shockwave” attack I had an animation override play and once the animation has played the shockwave spawns underneath the boss. For phase 2 of combat the boss will release three shockwaves of increasing size.


AI Chiptune using Suno AI
In each level I included background music, varying from upbeat and relaxed to dark and gloomy to complement the environment design. To generate this music I used Suno AI and fed it prompts such as “chiptune theme for relaxed and upbeat meadow” or “dark chiptune music for a forest of shadows”. For some scenarios the AI produced poor chiptune so instead had it make themed music first and then had it adapt it for the chiptune style. It took lengthy experimentation to produce successful results.

I acknowledge the use of the generative AI: Suno (version 4) by Suno, Inc. in this work to generate the music used in this game

