
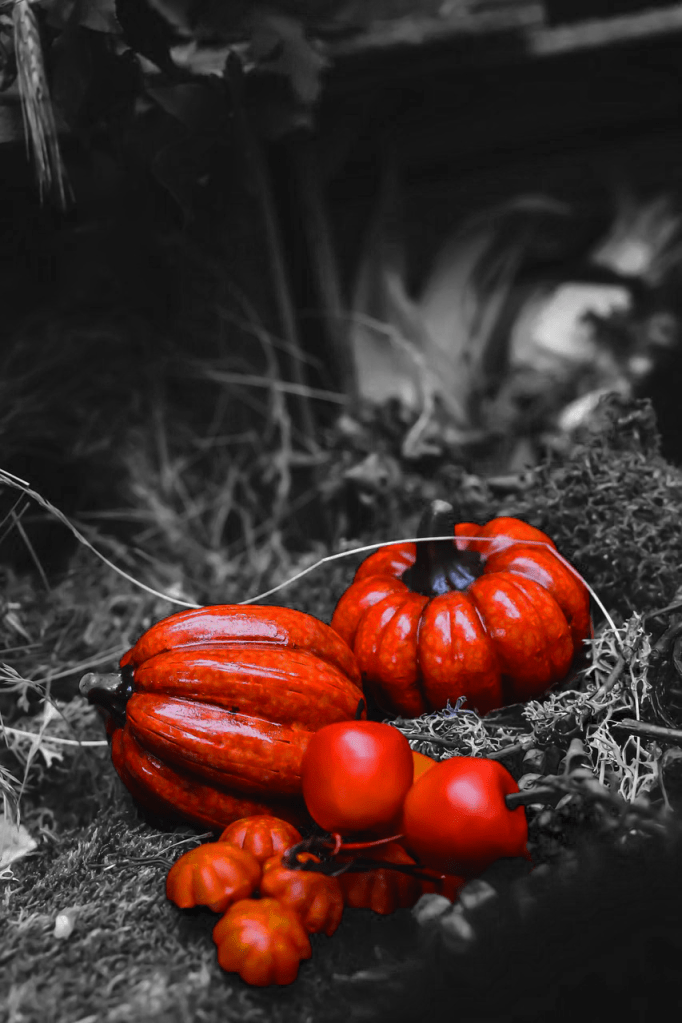
This lesson we were taught how to use the quick selection tool to select an area of the image, then use tools under the adjustments menu to change the colour and contrast to make the selected area pop. Then selecting the inverse and using the black and white tool in the image adjustments menu to make the background grayscale.
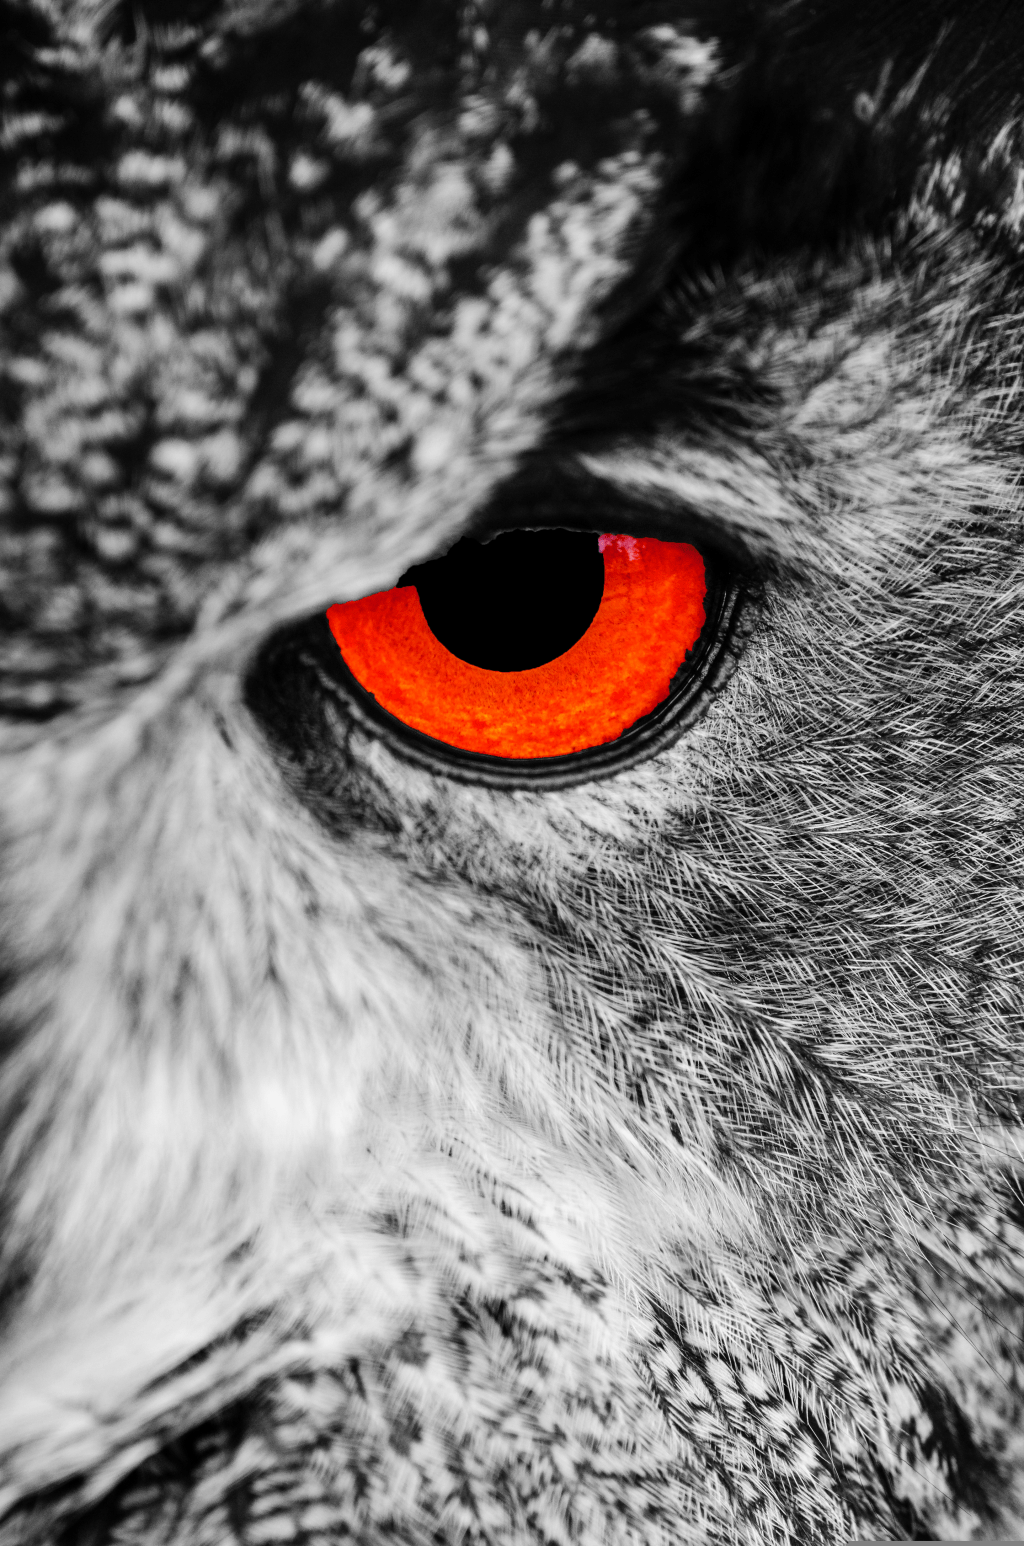
I then did the same for a close up of an owl changing the iris by increasing the red in the colour balance and the contrast. Then I again selected the inverse and made the rest of the owl grayscale. I finally selected the pupil of the owl and made it black.


L3 U5&6
